Life moments
Lights /
Scenes with lights.
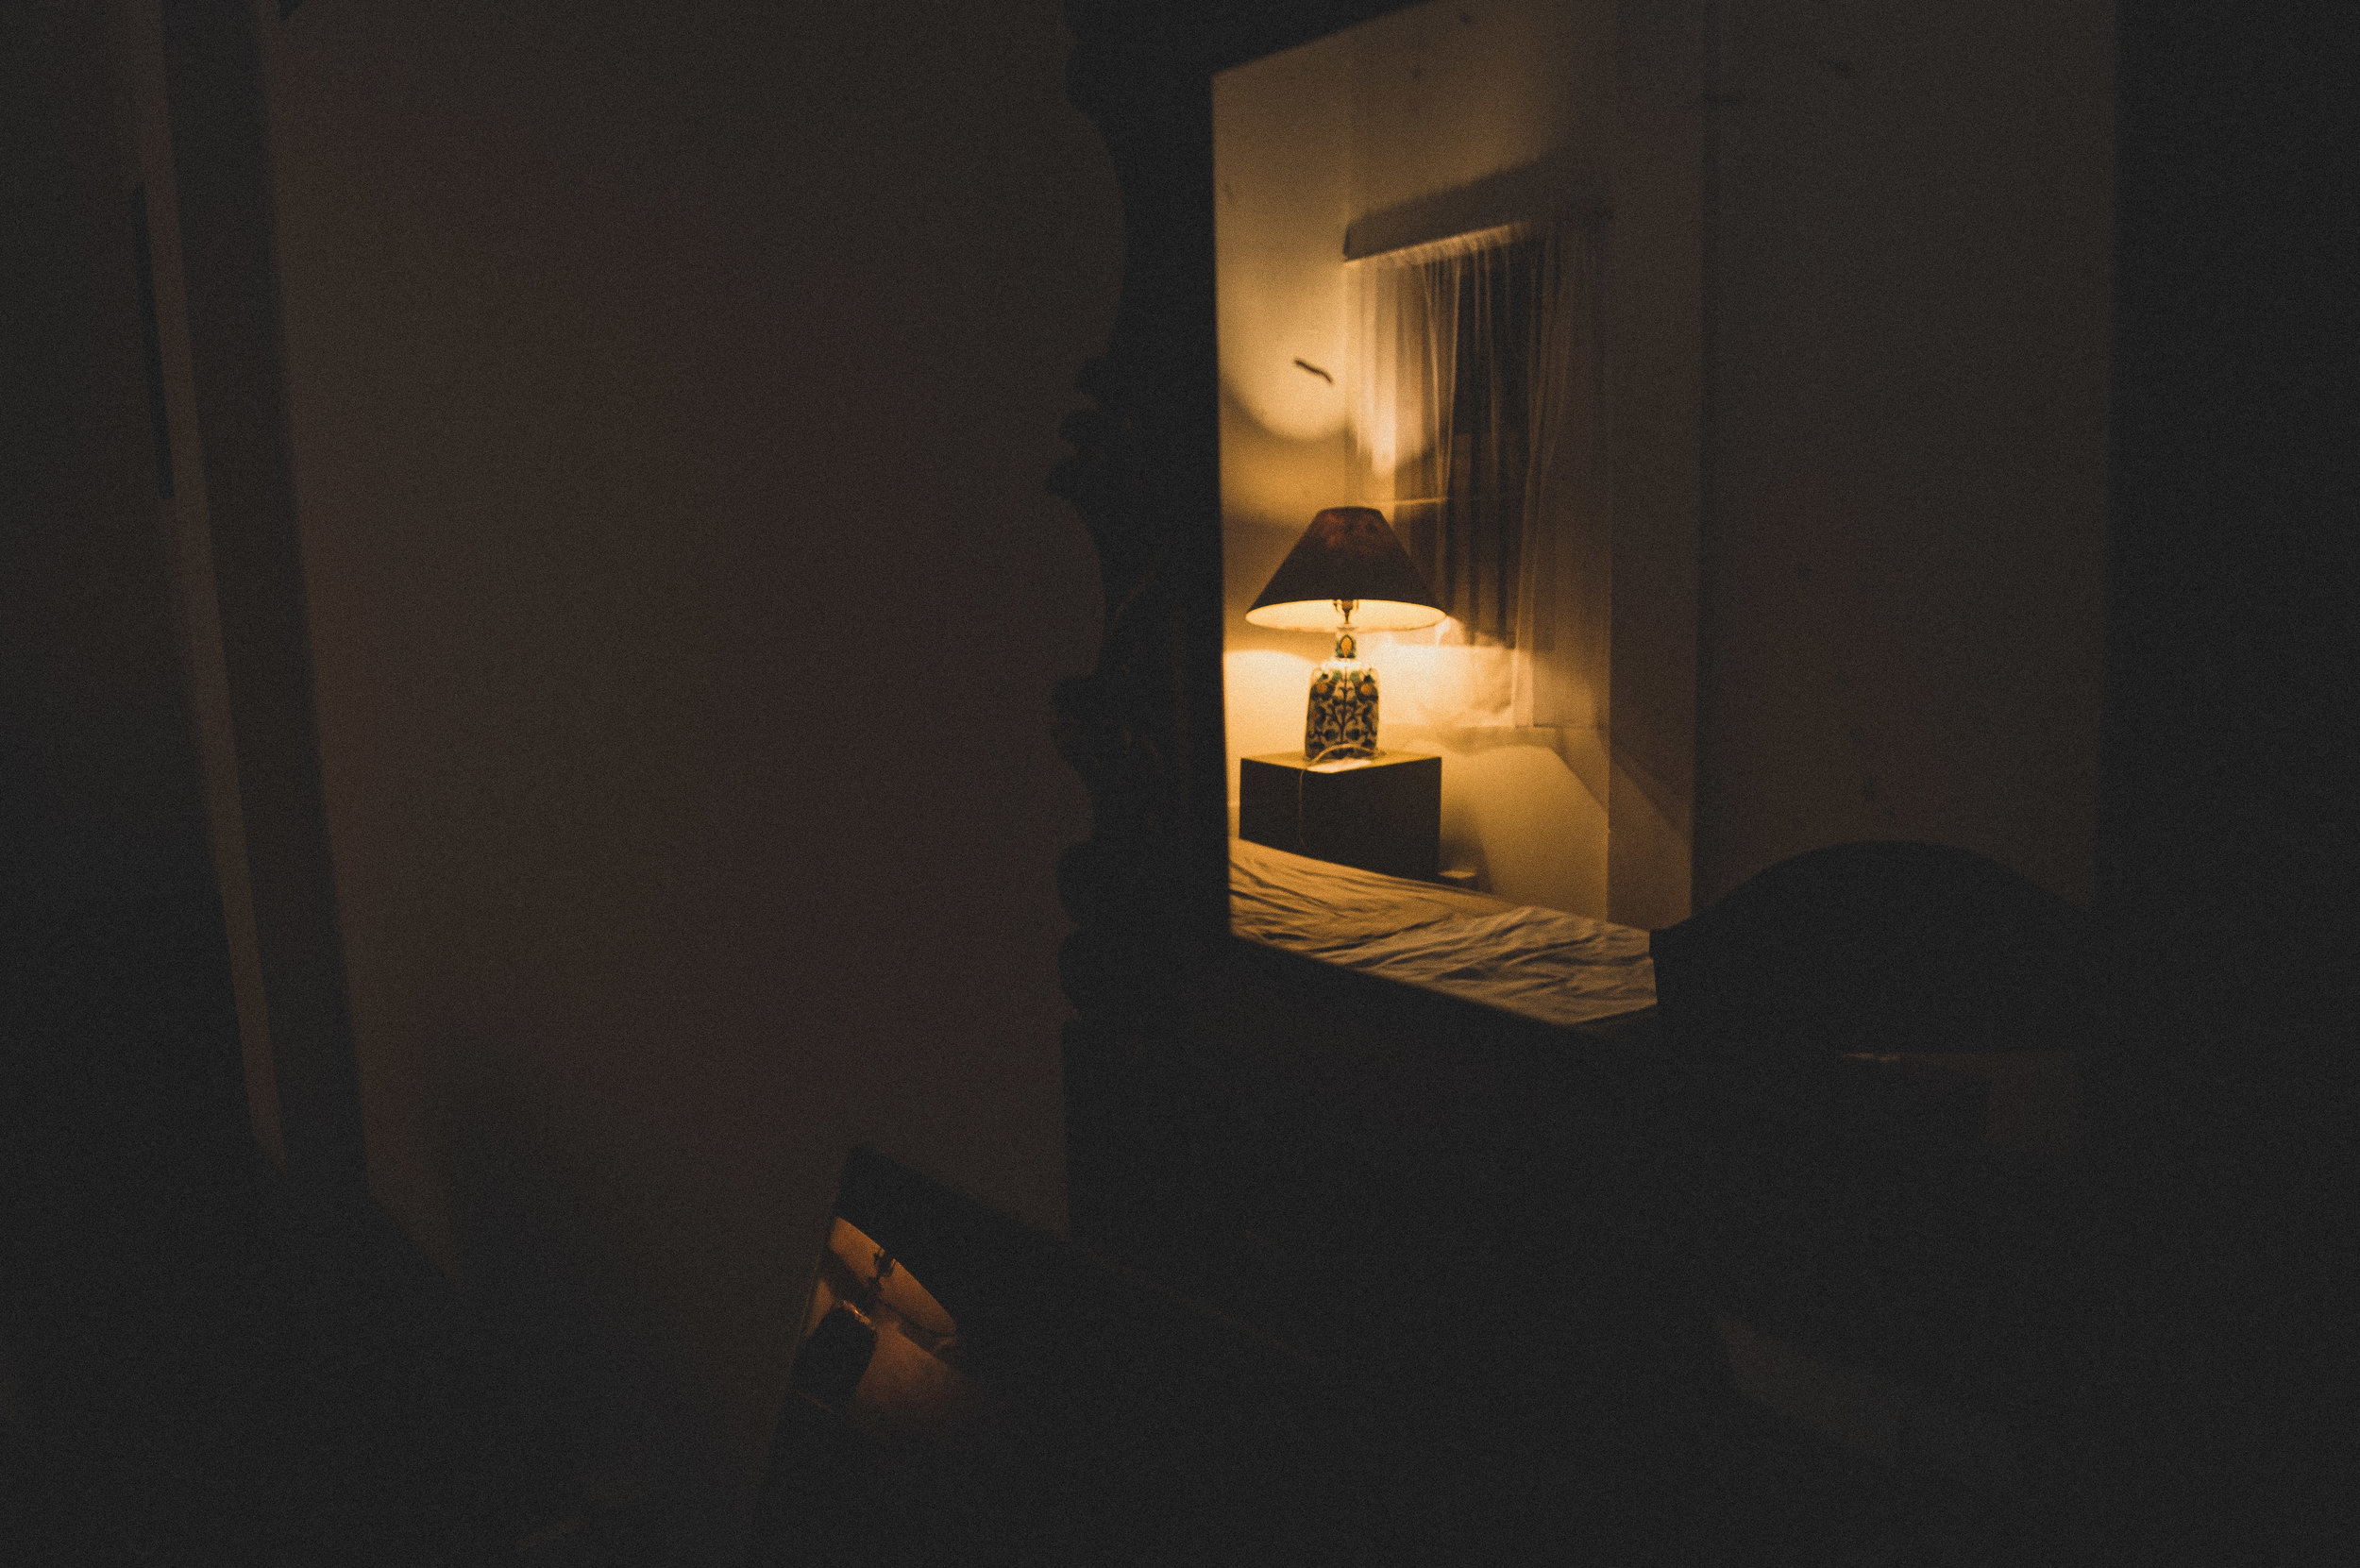
Bali, Indonesia

Bali, Indonesia
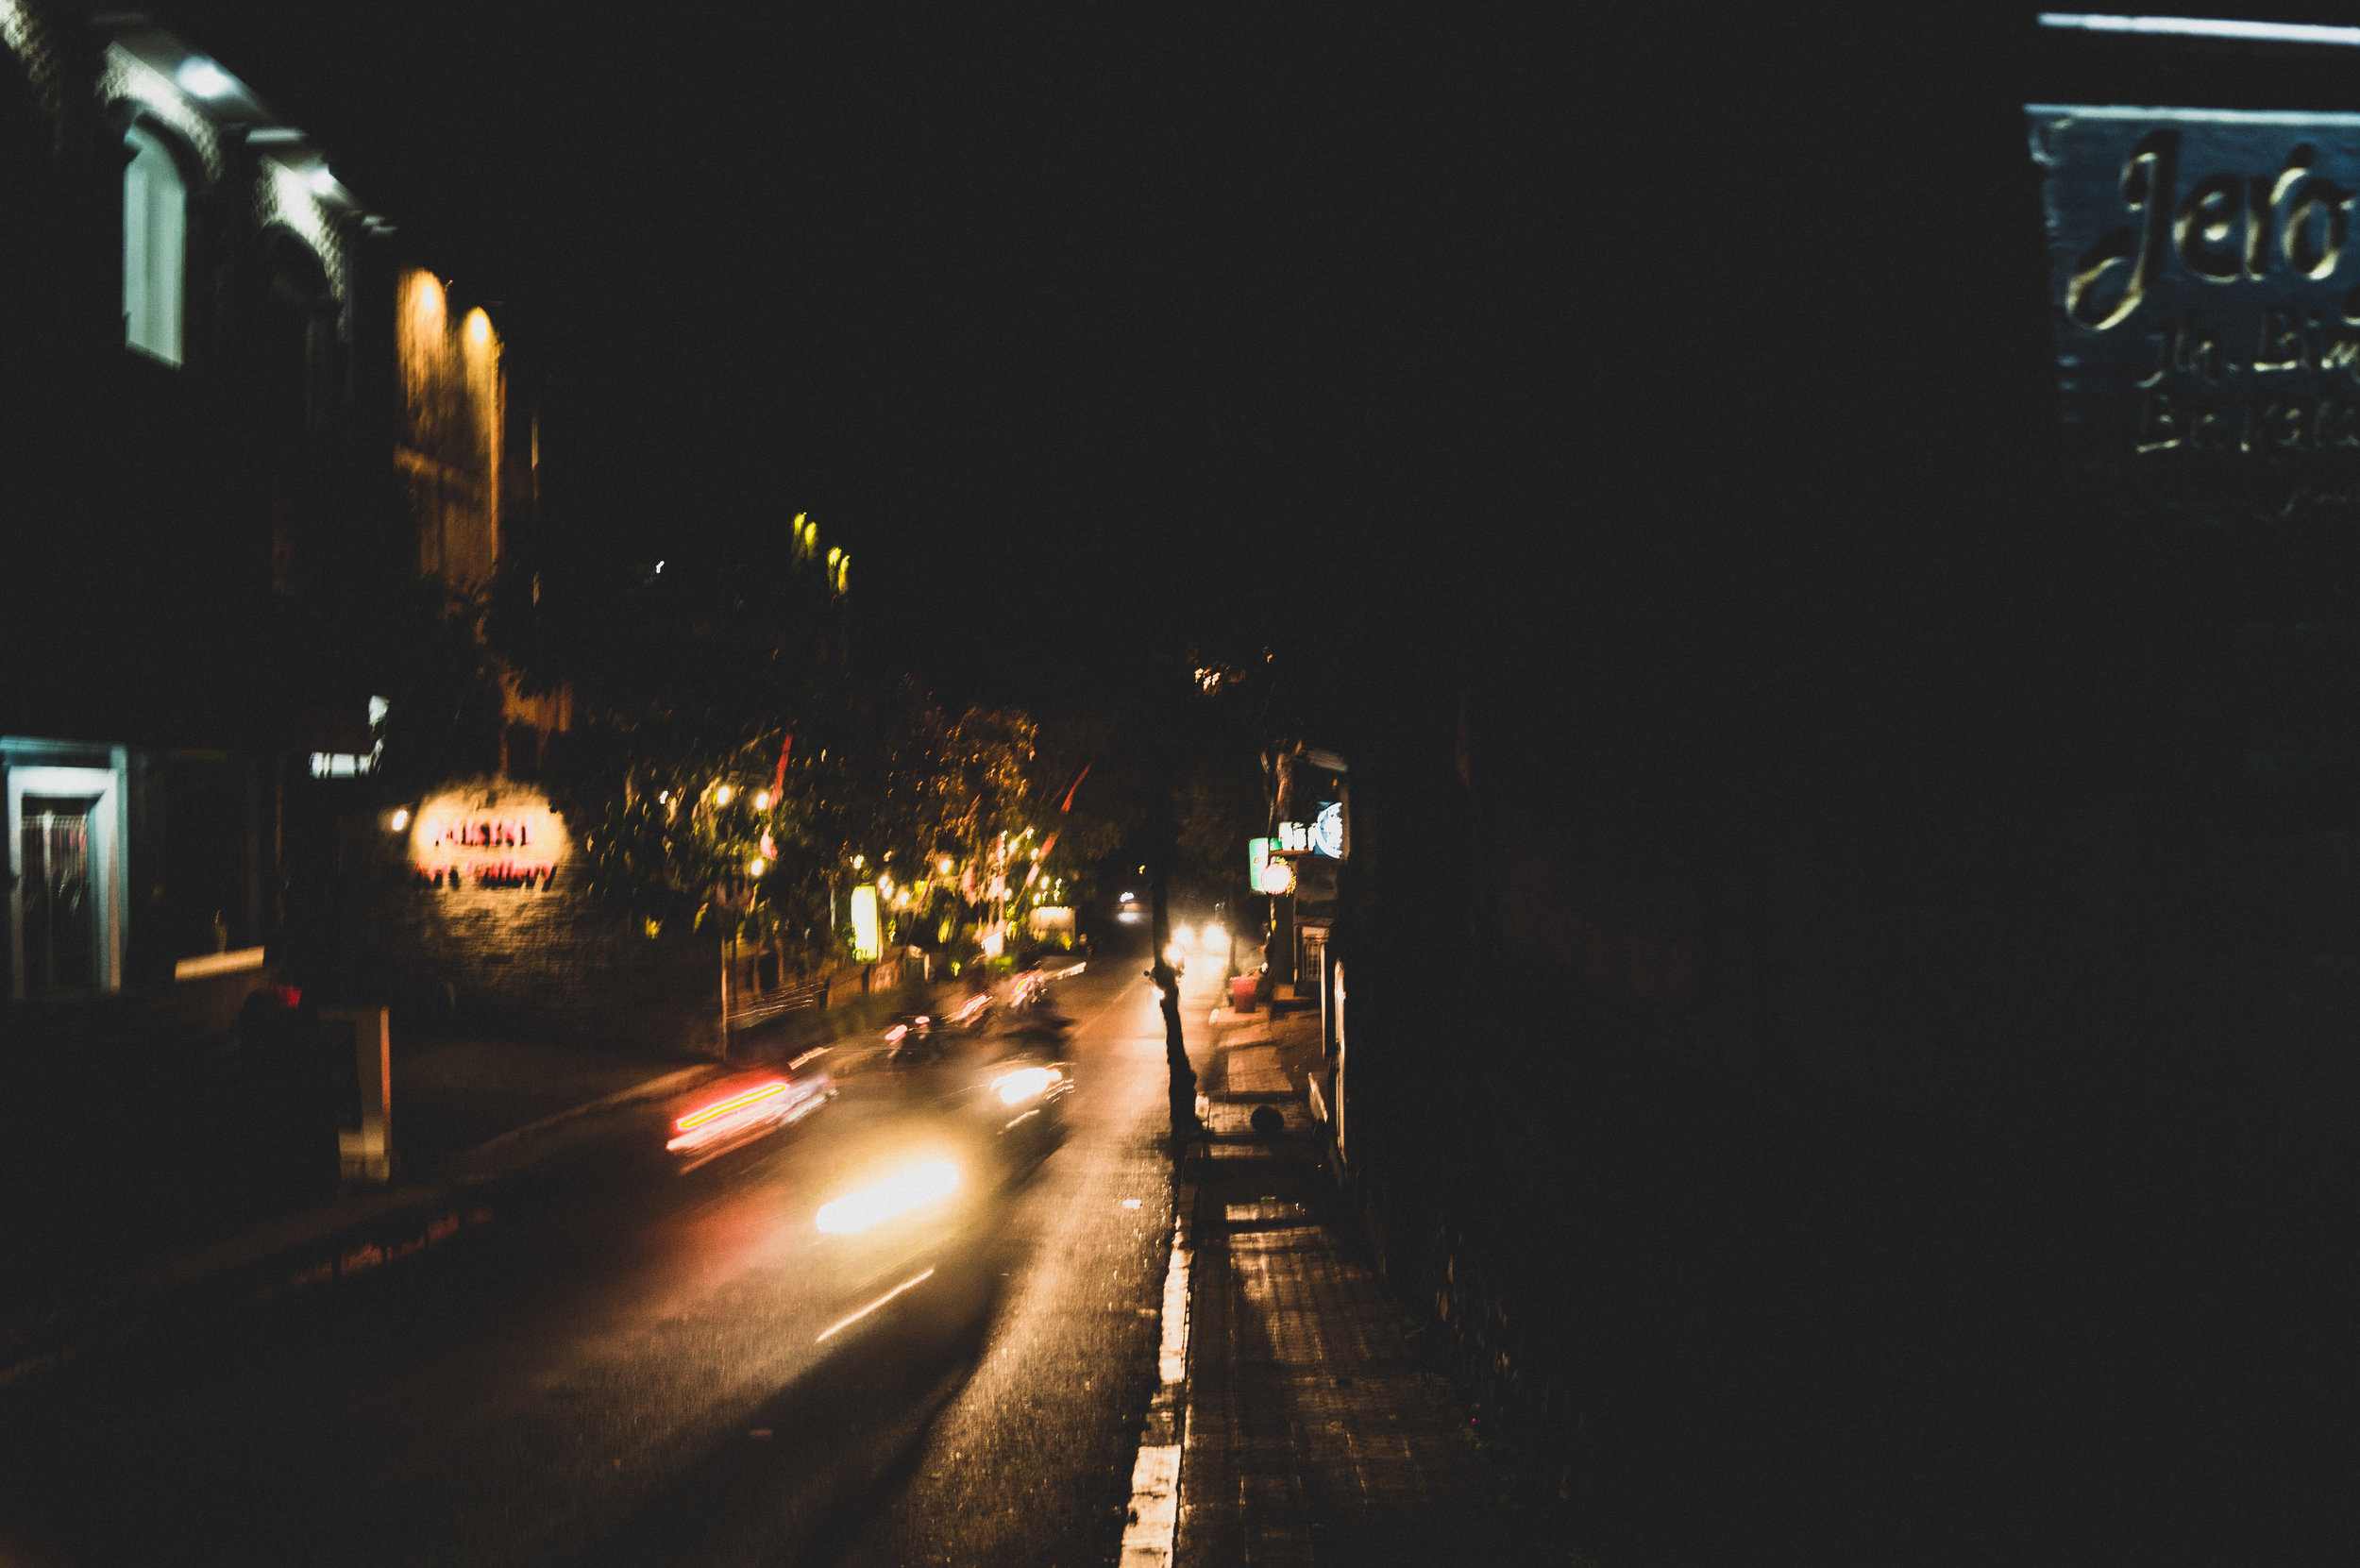
Bali, Indonesia

Bali, Indonesia

Bali, Indonesia

Home

Home
Get a fire going. /

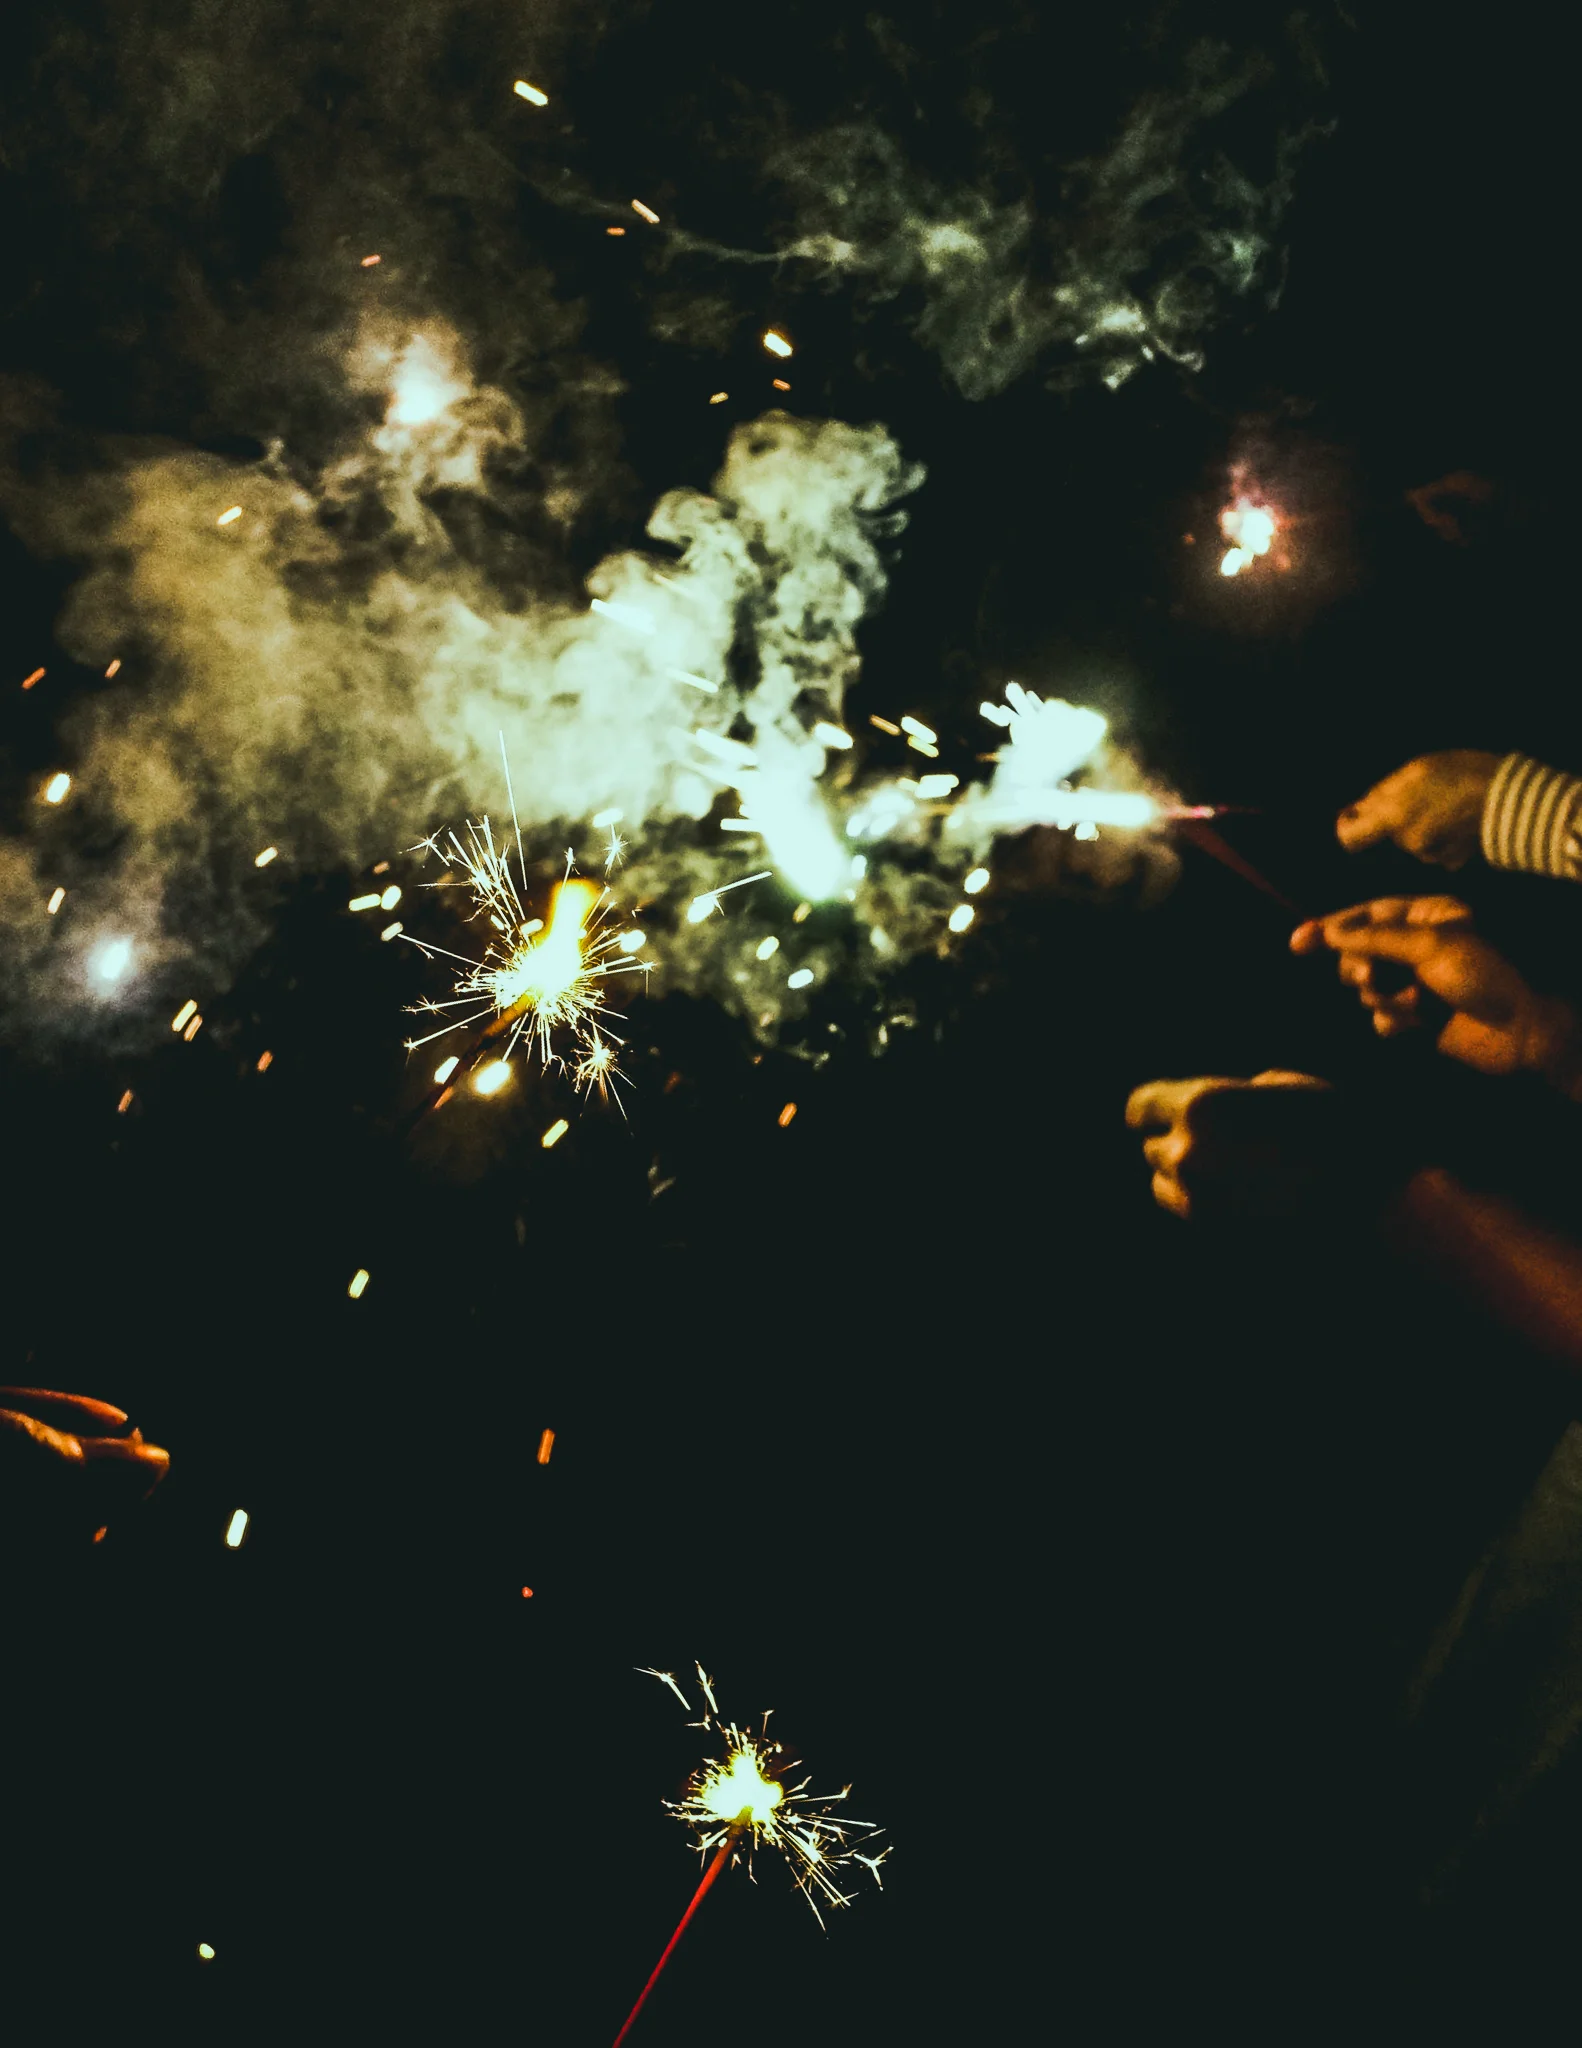
There is no reason not to do firework in October. Keep a fire going.
A little thing that makes life richer /

While I was working on editing for the project, she was preparing lunch.
This is my mom’s magic. She make everything significant if she wants, an old small table, flower/plants she picks up, and even a sashimi chirashi rice bowl from a supermarket.
Once she decorates them all together, our 1000 yen meal becomes a foodie’s lunch and photogenic.
From the daughter’s observation, making a table decoration and setting is effortless for her. She just enjoys it because that’s a part of her making life a little bit richer.


It's fall #1 -master the basic curve for still life photography- /

Here, it's fall! My favorite season. The perfect weather, colors, and food in a year.
While I was taking photos of fruit liquor my dad made, this session popped out in my mind that this could be a great example to present how to control curve for still life photography.
When it comes to still life photography (snapshot), my photos tend to be vintage-warm (or cooling) looks whereas other travel photos and portrait could be more defined bright looks. I enjoy still life photography by decorating objects to real life scene and editing like drawing a picture.
So, here I'd like to show how I edit still life photos on LR and also give little tips on how to control ‘Curve' for it.
This session will focus in a series, #1 ‘master the basic curve for still life photography,' #2 ‘master the abnormal curve, and #3 ‘master the abnormal curve with additional color curve' with the fall looking photos I took lately.
Today, I am going to show #1 ‘master the basic curve for still life photography' with photos of fruit's liquor.


Enjoy photos?
Now, let's take a look at the Curve axis of the photo. In this series, I am going to call this curve x-axis for the horizontal axis, and the y-axis for the vertical axis.
In this #1 the basic curve, I’d say that the keyword to master is an "S" hook.
The S hook is the basic curve concept in editing. You can create any abnormal equation to color on your photos, but if you have no idea what to do first, keep this concept in your mind, and you can modify/adjust the colors later with other editing tools.
So, to make my points simple, please see how I make an S curve.


Adjust the brightness of the whole photo
1. Move the center point to up along the y-axis.
2. Move the right top down along the y-axis within a box #4.
3. Get the tip of the left bottom up along the y-axis or the x-axis within a box #13.
(*It depends on a photo style and your preference. If you like a little blur vintage style, I would recommend keeping it on the y-axis. If you want defined looks, then it should be along the x-axis. )
Adjusting of the 3 points makes the primary color and mood change of your photo like you painted the whole canvas by white or grey color to emphasize painting colors you are going to add.
Now, any points you pick from box#13, #10, #7, and #4 are in your control. I usually adjust points following the y-axis, moving up to down. When the point moves along the x-axis, usually it happens only within box #13 to deep down the old colors and adds purple/navy dark look around the edge of a photo.
Finally, you can modify the S hook curve with other editing tools. This process is a coating on the surface of the photo by polishing, lighting, smoothing, or graining. The fall look photo is created by your own :)
Hope it was simple enough to understand the basic concept of the curve and gave you a little tip to create your “photo painting.“
Thank you so much for reading, and enjoy the curve tool for your photography!