Flat-lay. Yes, I love flat-lay photography. It’ because the style gives me a lot of creative freedom, and I can do anything with goods to make something appealing through photographs.
I used to say, “I don’t know, just go with the flow.“, Not considering repeat and the process of creating. But does it really say “creative“?? If I cannot vocalize how the process of my creativity pops out.
So today, after thinking about my process of creating flat-lay, and how I got to this point, where the final image comes out, I am going to leave 3 tips for flat-lay photography for people who are interested in collage, photography, or styling.
Hope you get something, some ideas from this post.
1. Get everything connected
Pick the main item for your theme. Bring related things that could get along with the main item.
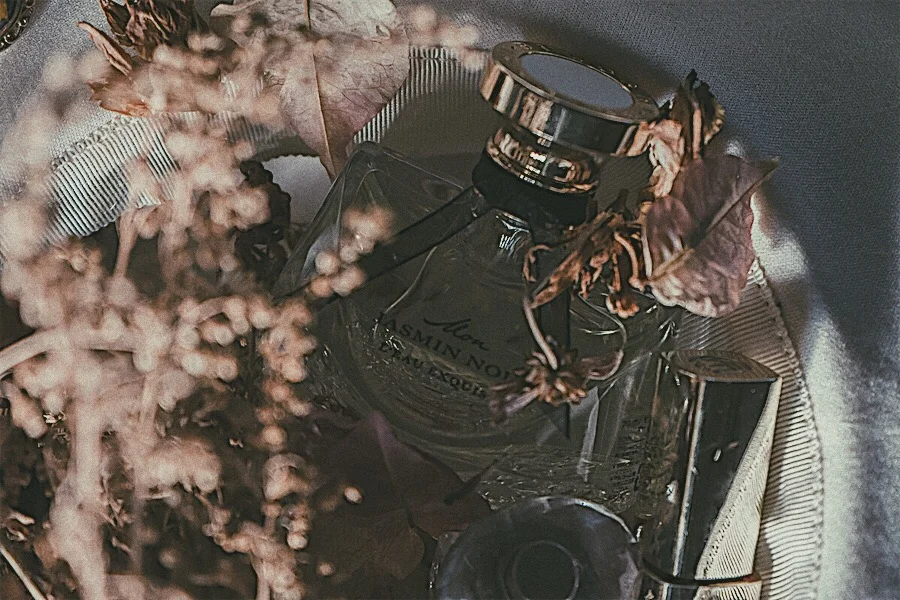
For example, Theme: feminine, aesthetic beauty/softness > female symbolic item > perfume (the main thing)
Perfume > fashion > Coco Channel > the 20s hat
Perfume > cosmetics > lip sticks
Perfume > sophisticated > modern stylish > Tech > Apple > MacBook (lucky my MacBook cover is pinky marble)
Perfume > gorgeous > flowers > roses

1. Pick up one main item > Perfume

2. Add the main supportive item > the other perfumes.

3. Add cosmetics.

4. Add the victorian hat roses, and a Macbook.

5. add vintage jewelries.

6. Done
2. Practice your imagination with words
In tip#1, “get everything connected,“ it’s about what you connect similar interests into all the same categories. But to do so, you might need to practice to come up with a connection of words. Imagination and creation to unify and gather all things together. Play with words.
To practice imagination and creation, I recommend doing “color styling.“ Color styling is that you name colors of clothing as if you were a stylist for some clothing brand. Think about what words you can use to describe a dress to get consumers to know about the dress, and how you can present its attraction
Here are my examples by using my closet.

Rose-hip combo

Strawberry cream macaron

Lavender pink

Dahlia paradice pink

Jane Birkin

Summer dreaming

80s disco queen

Kale mix

Indian summer green
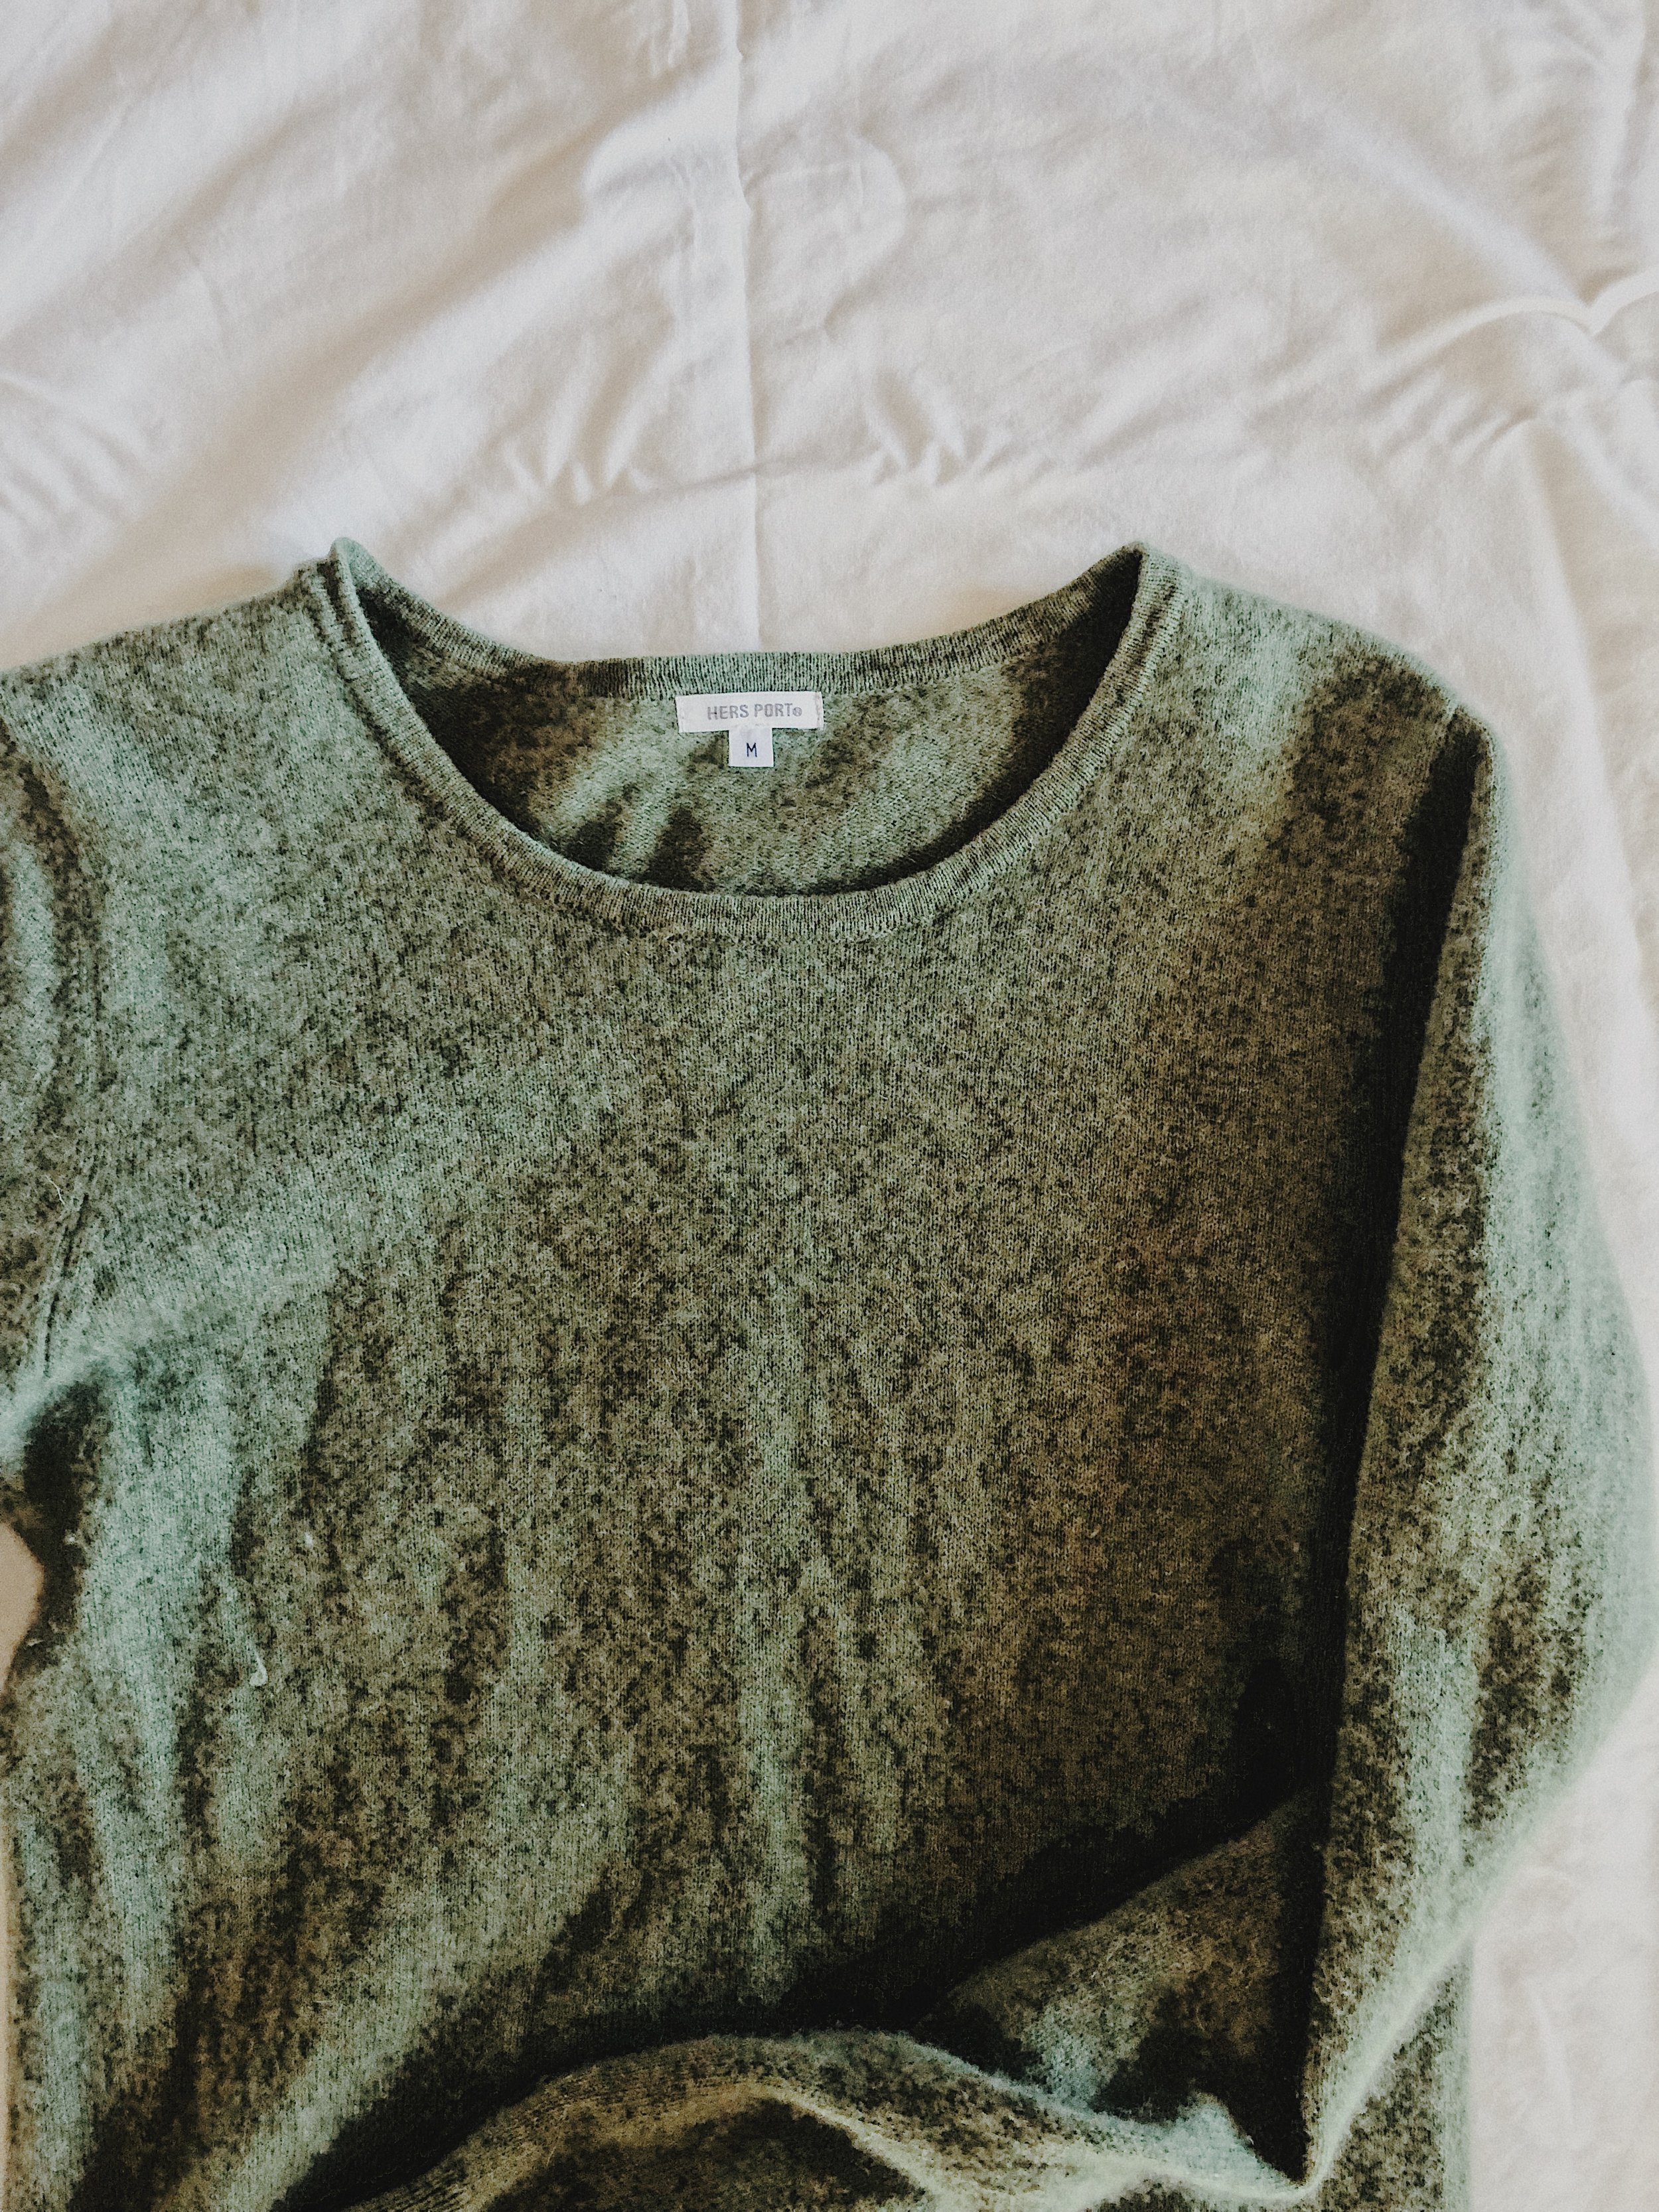
Dark Green tea latte

Moss forest light green

Lily’s memories
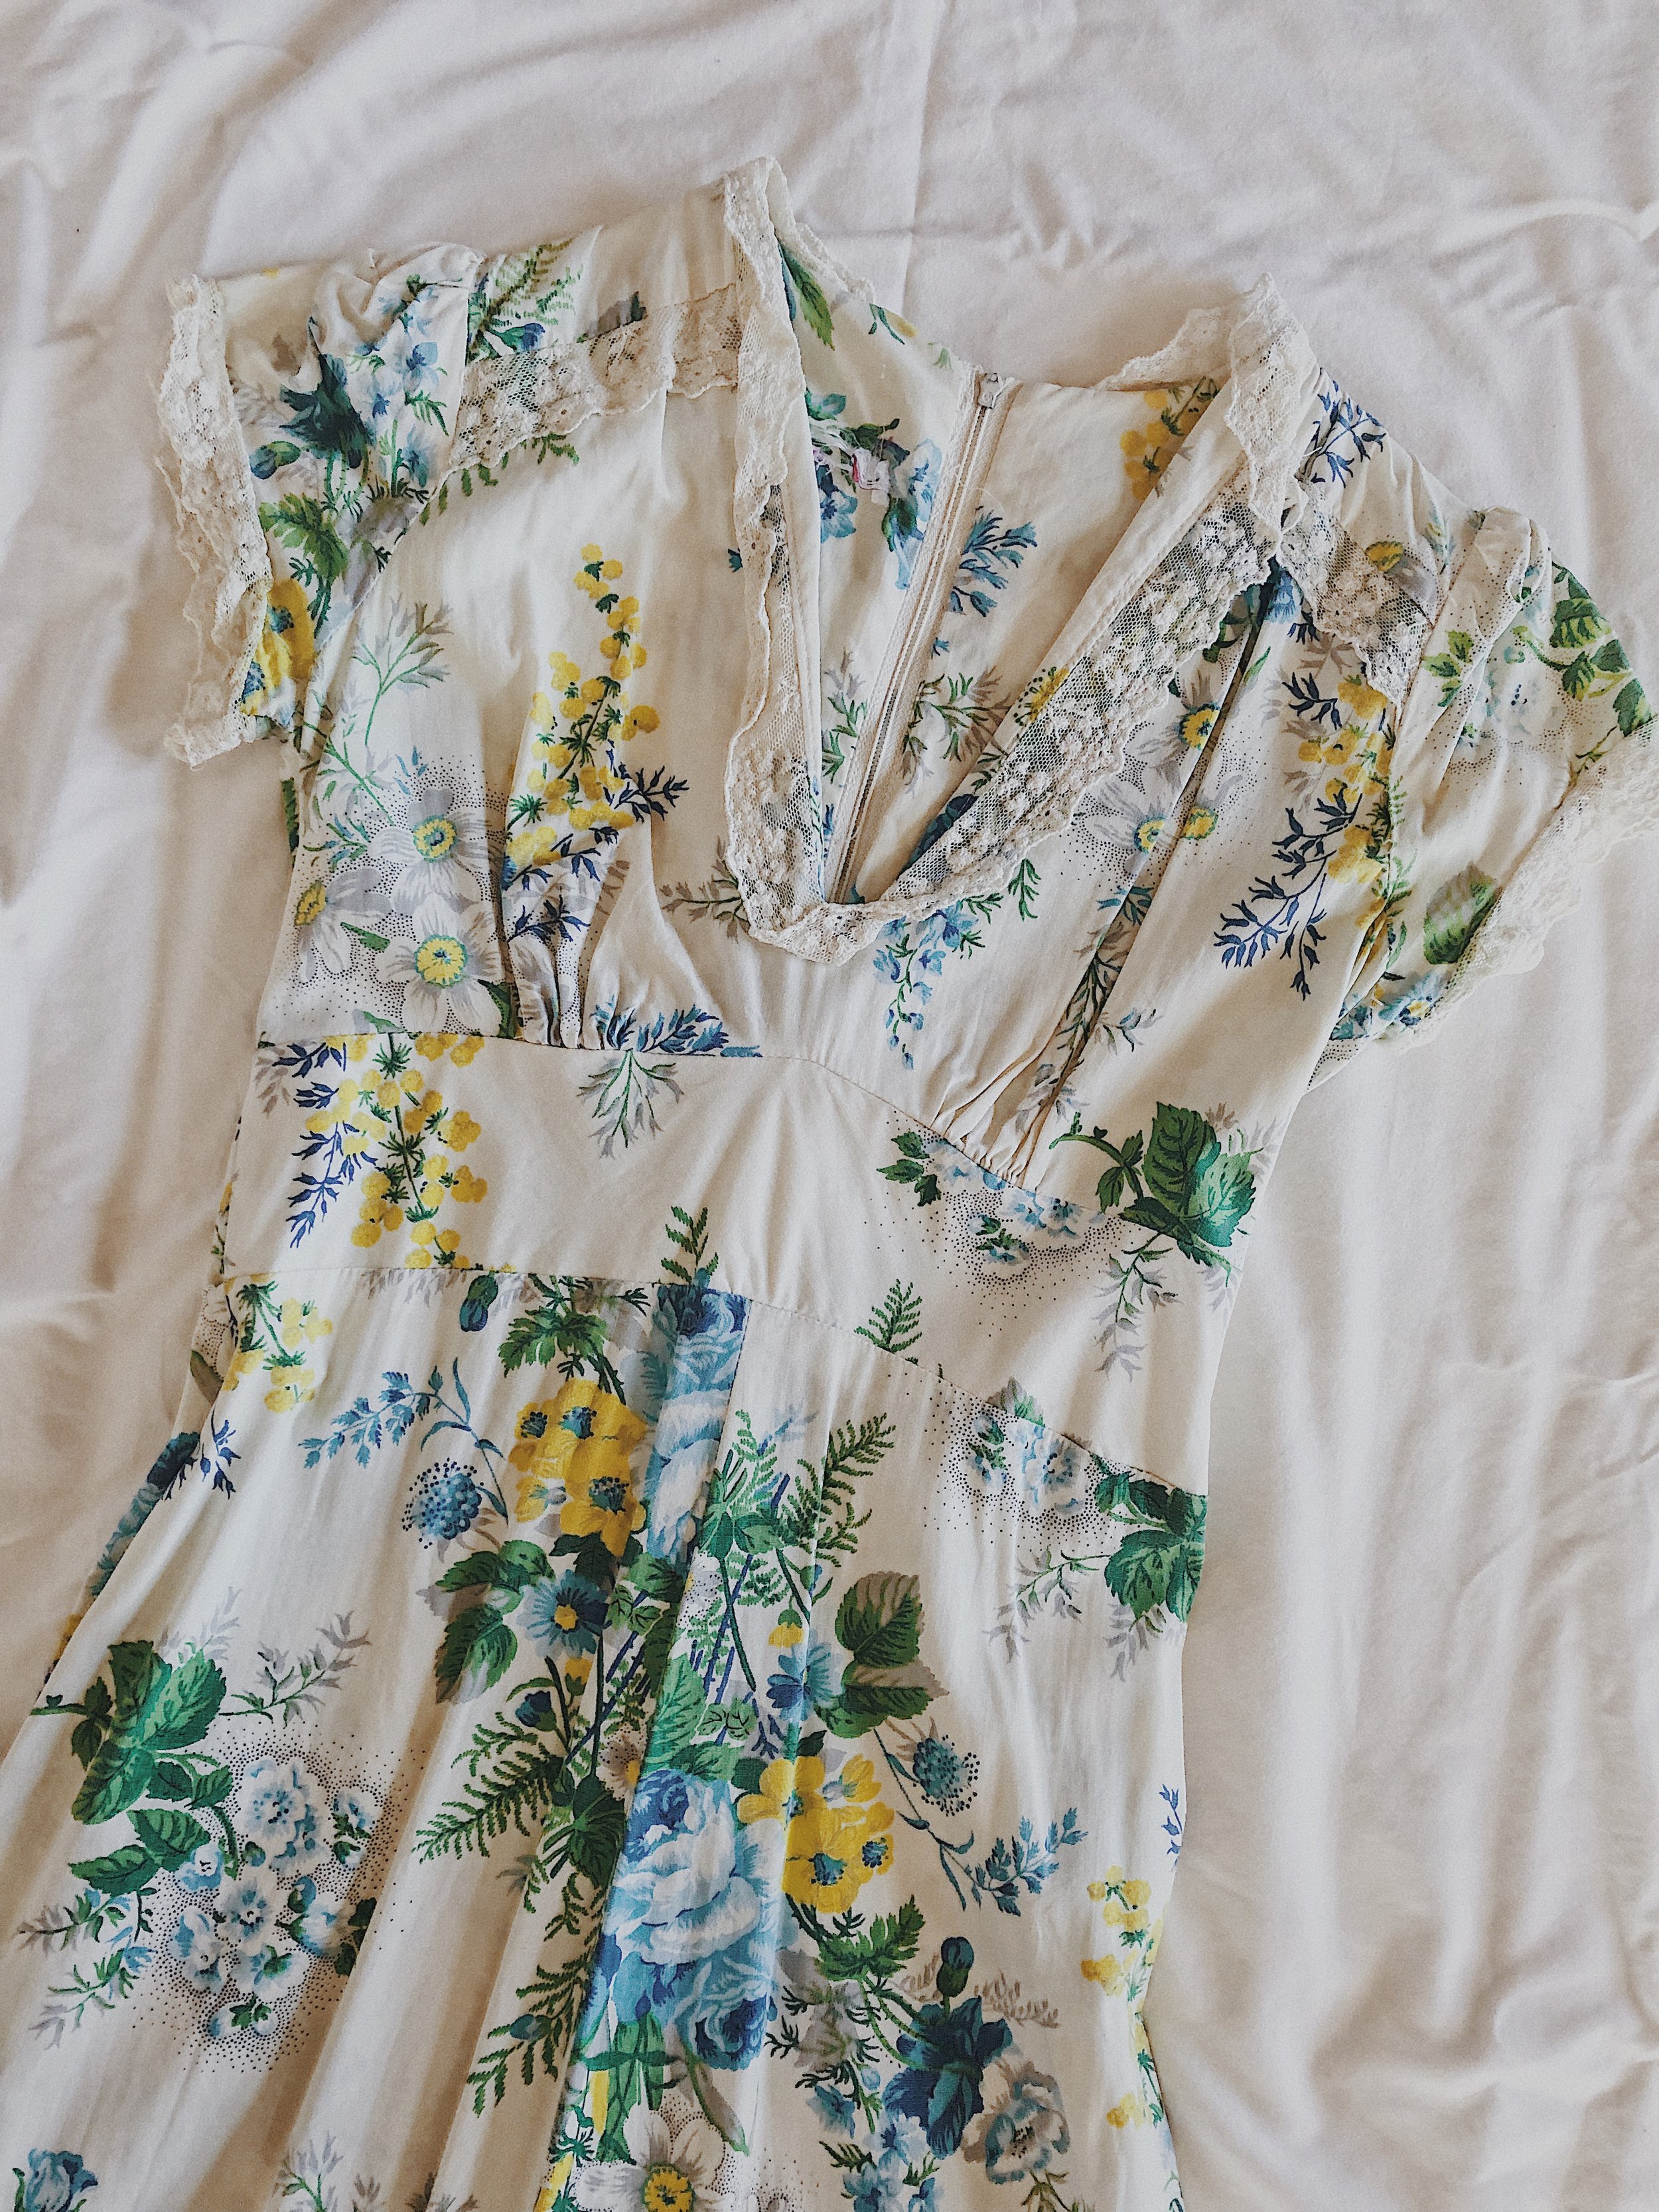
Hawaiian muse

Chinese chamomile yellow

British autumn garden

Balinese Jasmine

Edna in New York
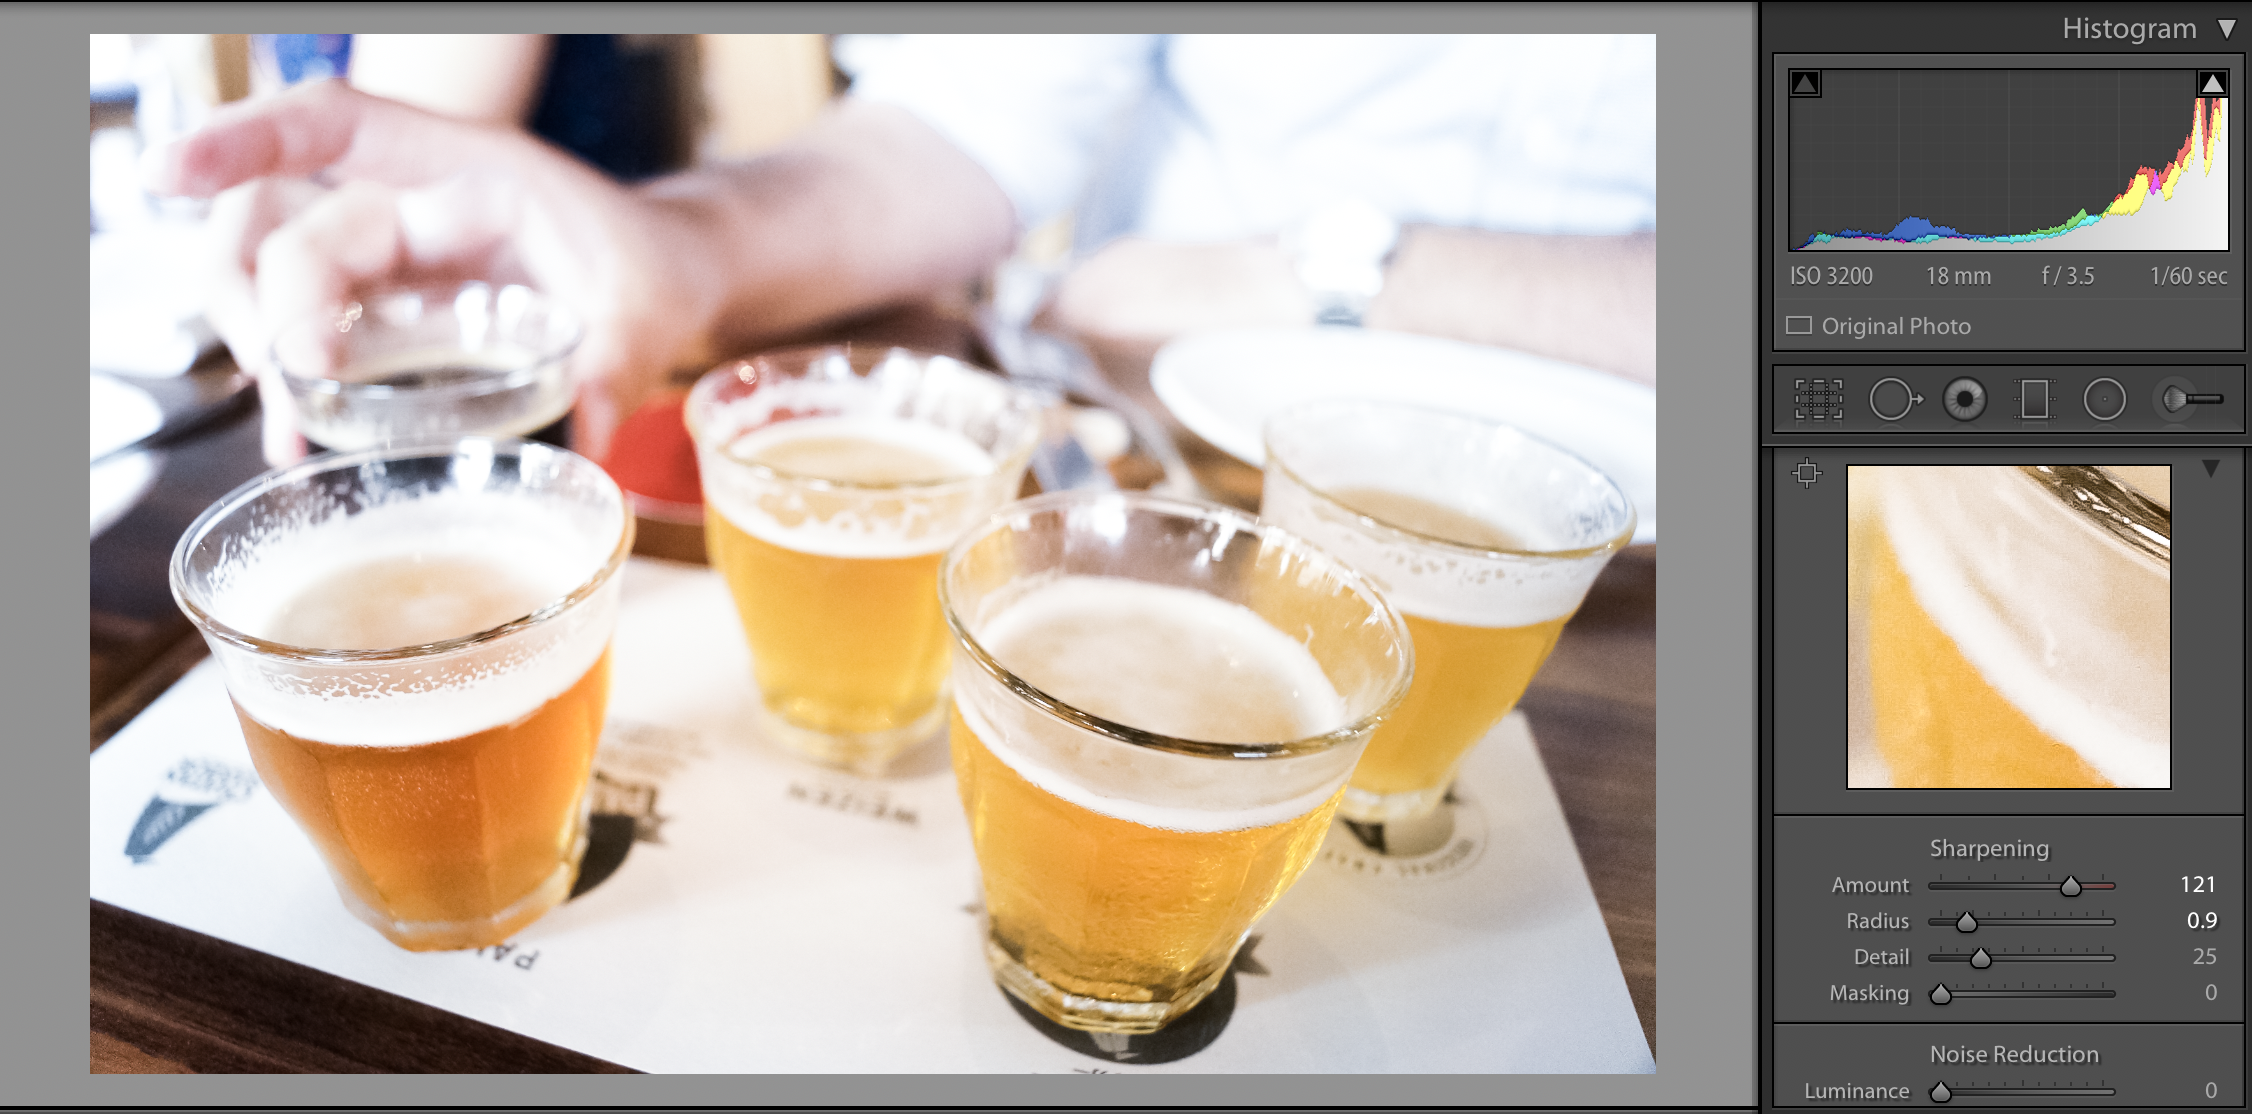
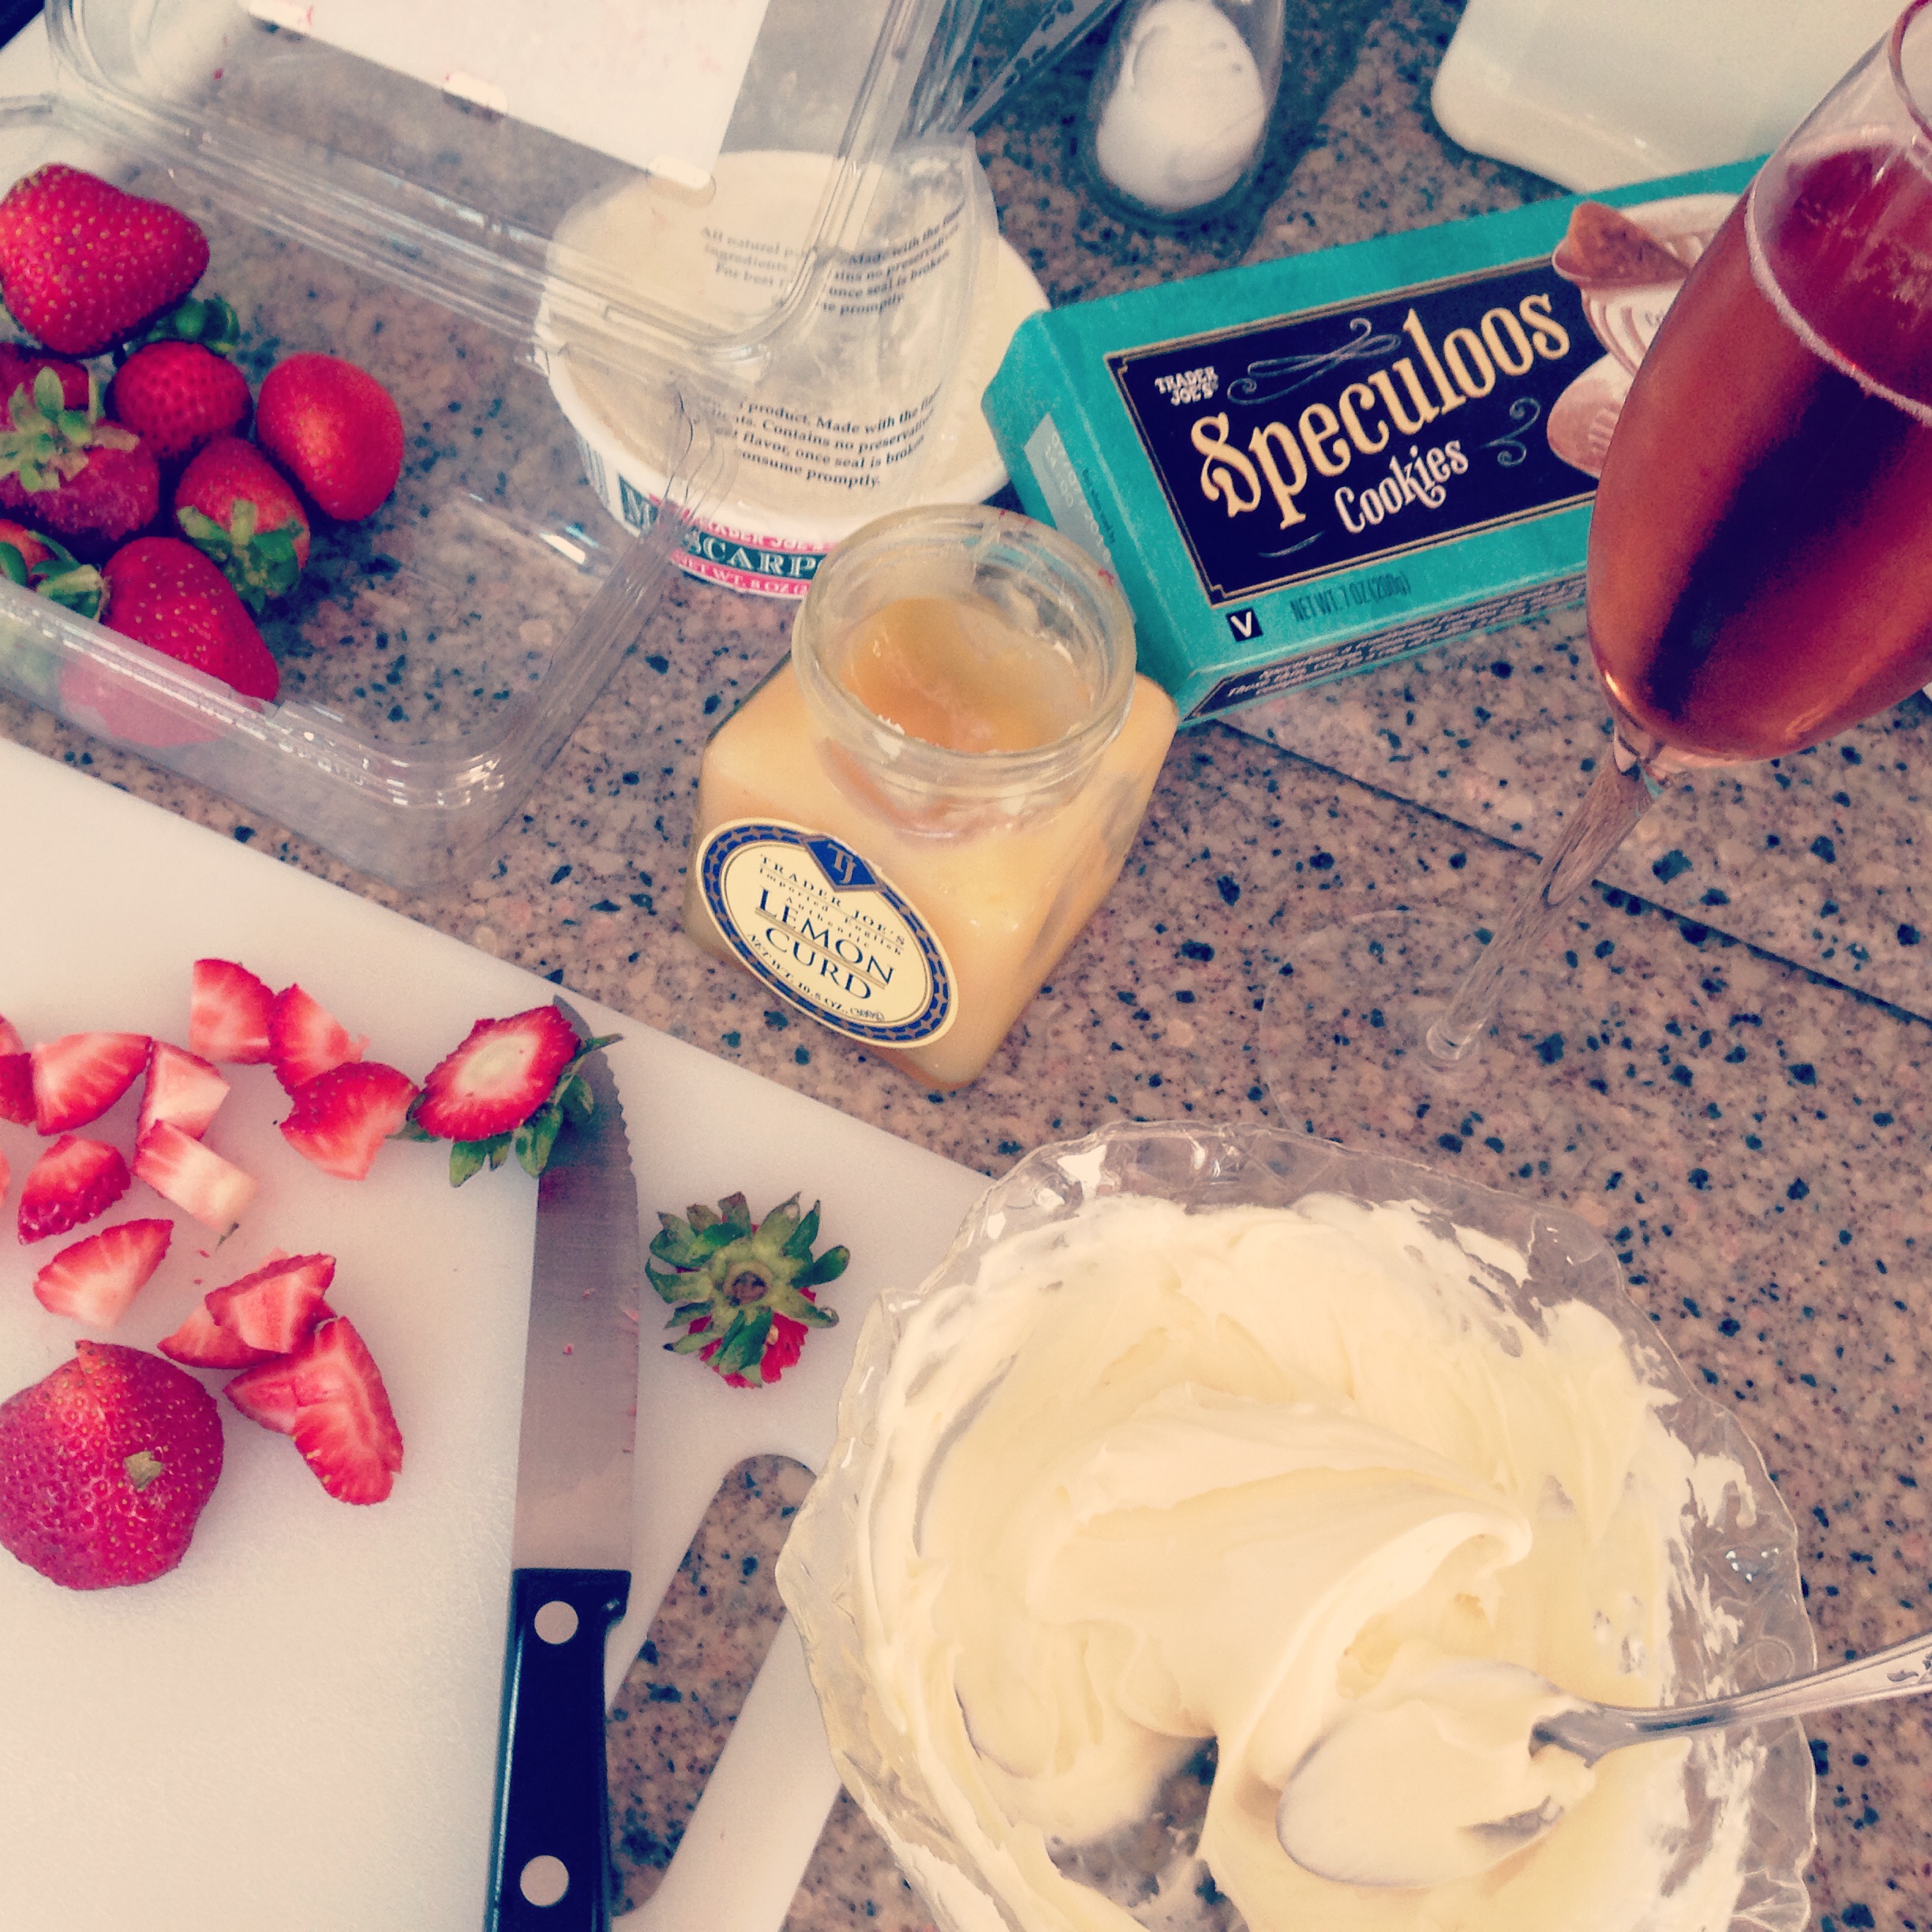
3. Input words and make captions for scenes
To practice imagination by naming colors of clothing, you might want to input words giving your creativity in your daily life.
Here what I do.
You take notes something you eat, hear, or see in food, tea, sweets, etc.., leave colors as an adjective to describe things that come up in your mind.
For example,
If I had a chamomile tea before bed, I would leave a note,
“white-yellow chamomile tea brings me a calm night.“
If I had a banana pancake for breakfast, I would leave a note,
“a delicious brown banana pancake with Canadian golden maple syrup.“
If I see mints growing up at the balcony, I would leave a note,
“a dessert for tonight would be green-green mint chocolate chip vanilla ice cream? Or minty flavor sorbet? or pinky peach cobbler with mint and white-cream on the side?“
If I hear birds singing outside, I leave a note,
“hummingbirds singing for bright pink cherry blossom and moss-green leaves coming after.“
Practice.
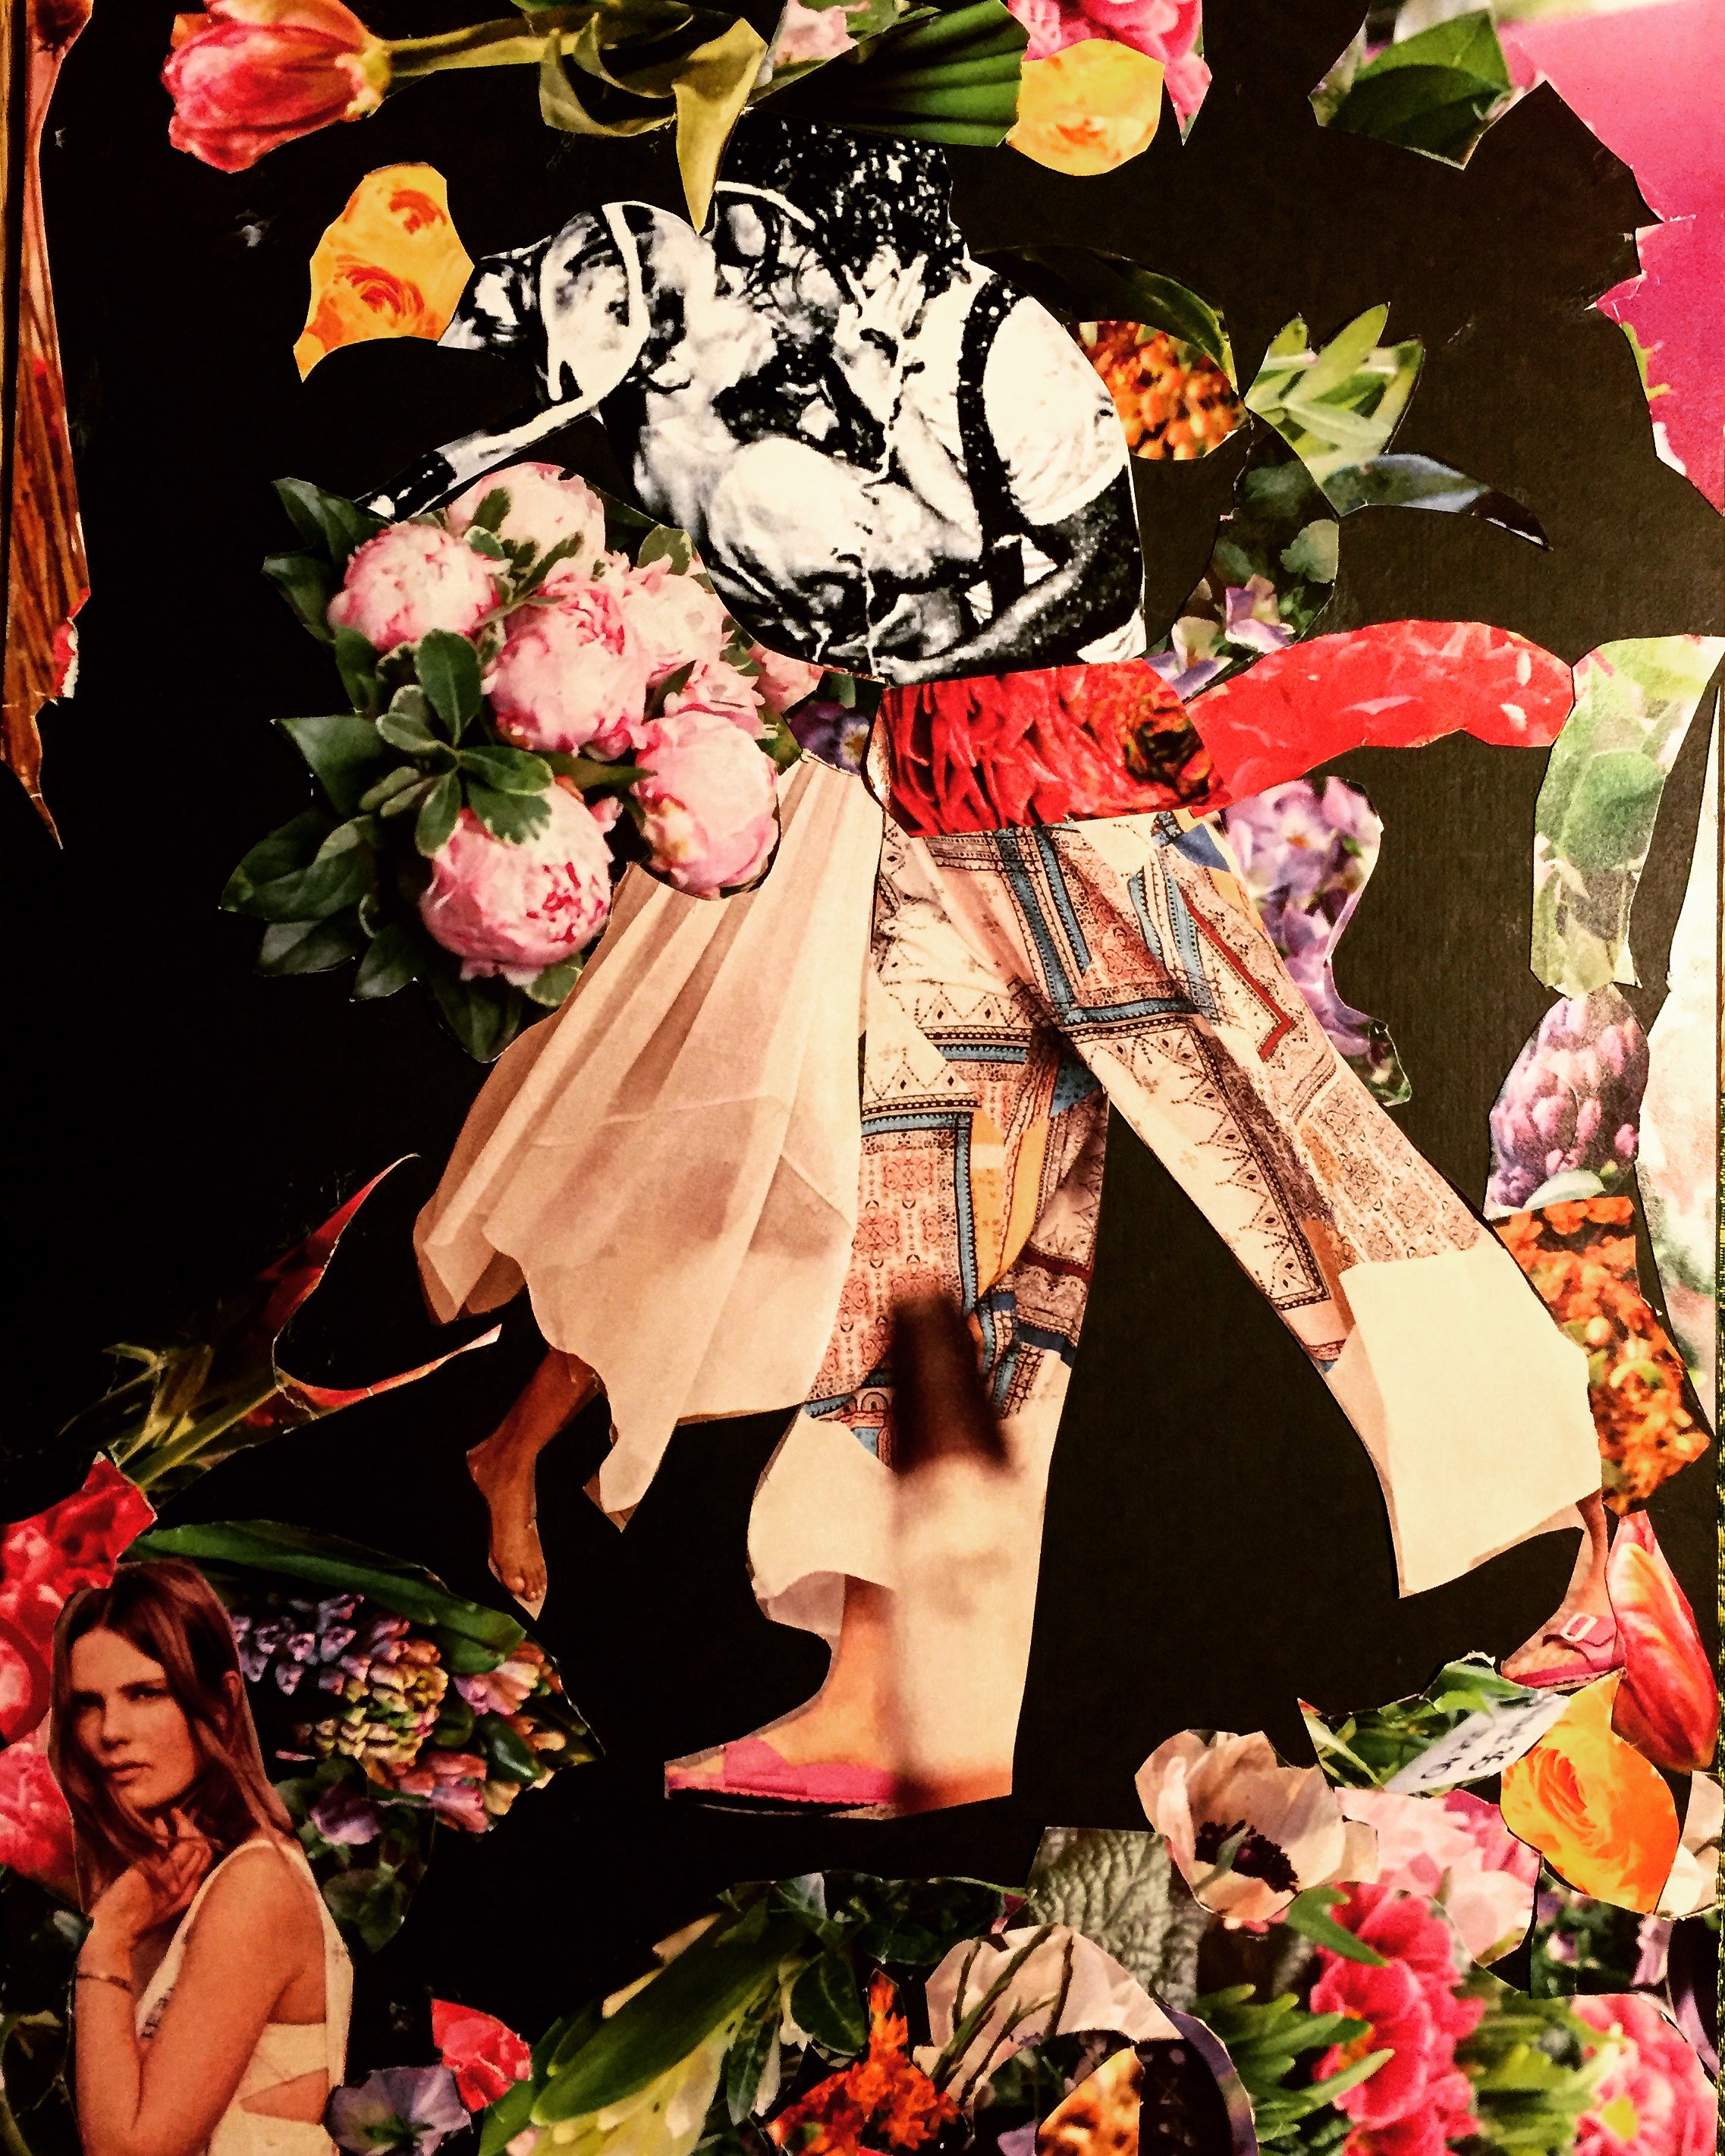
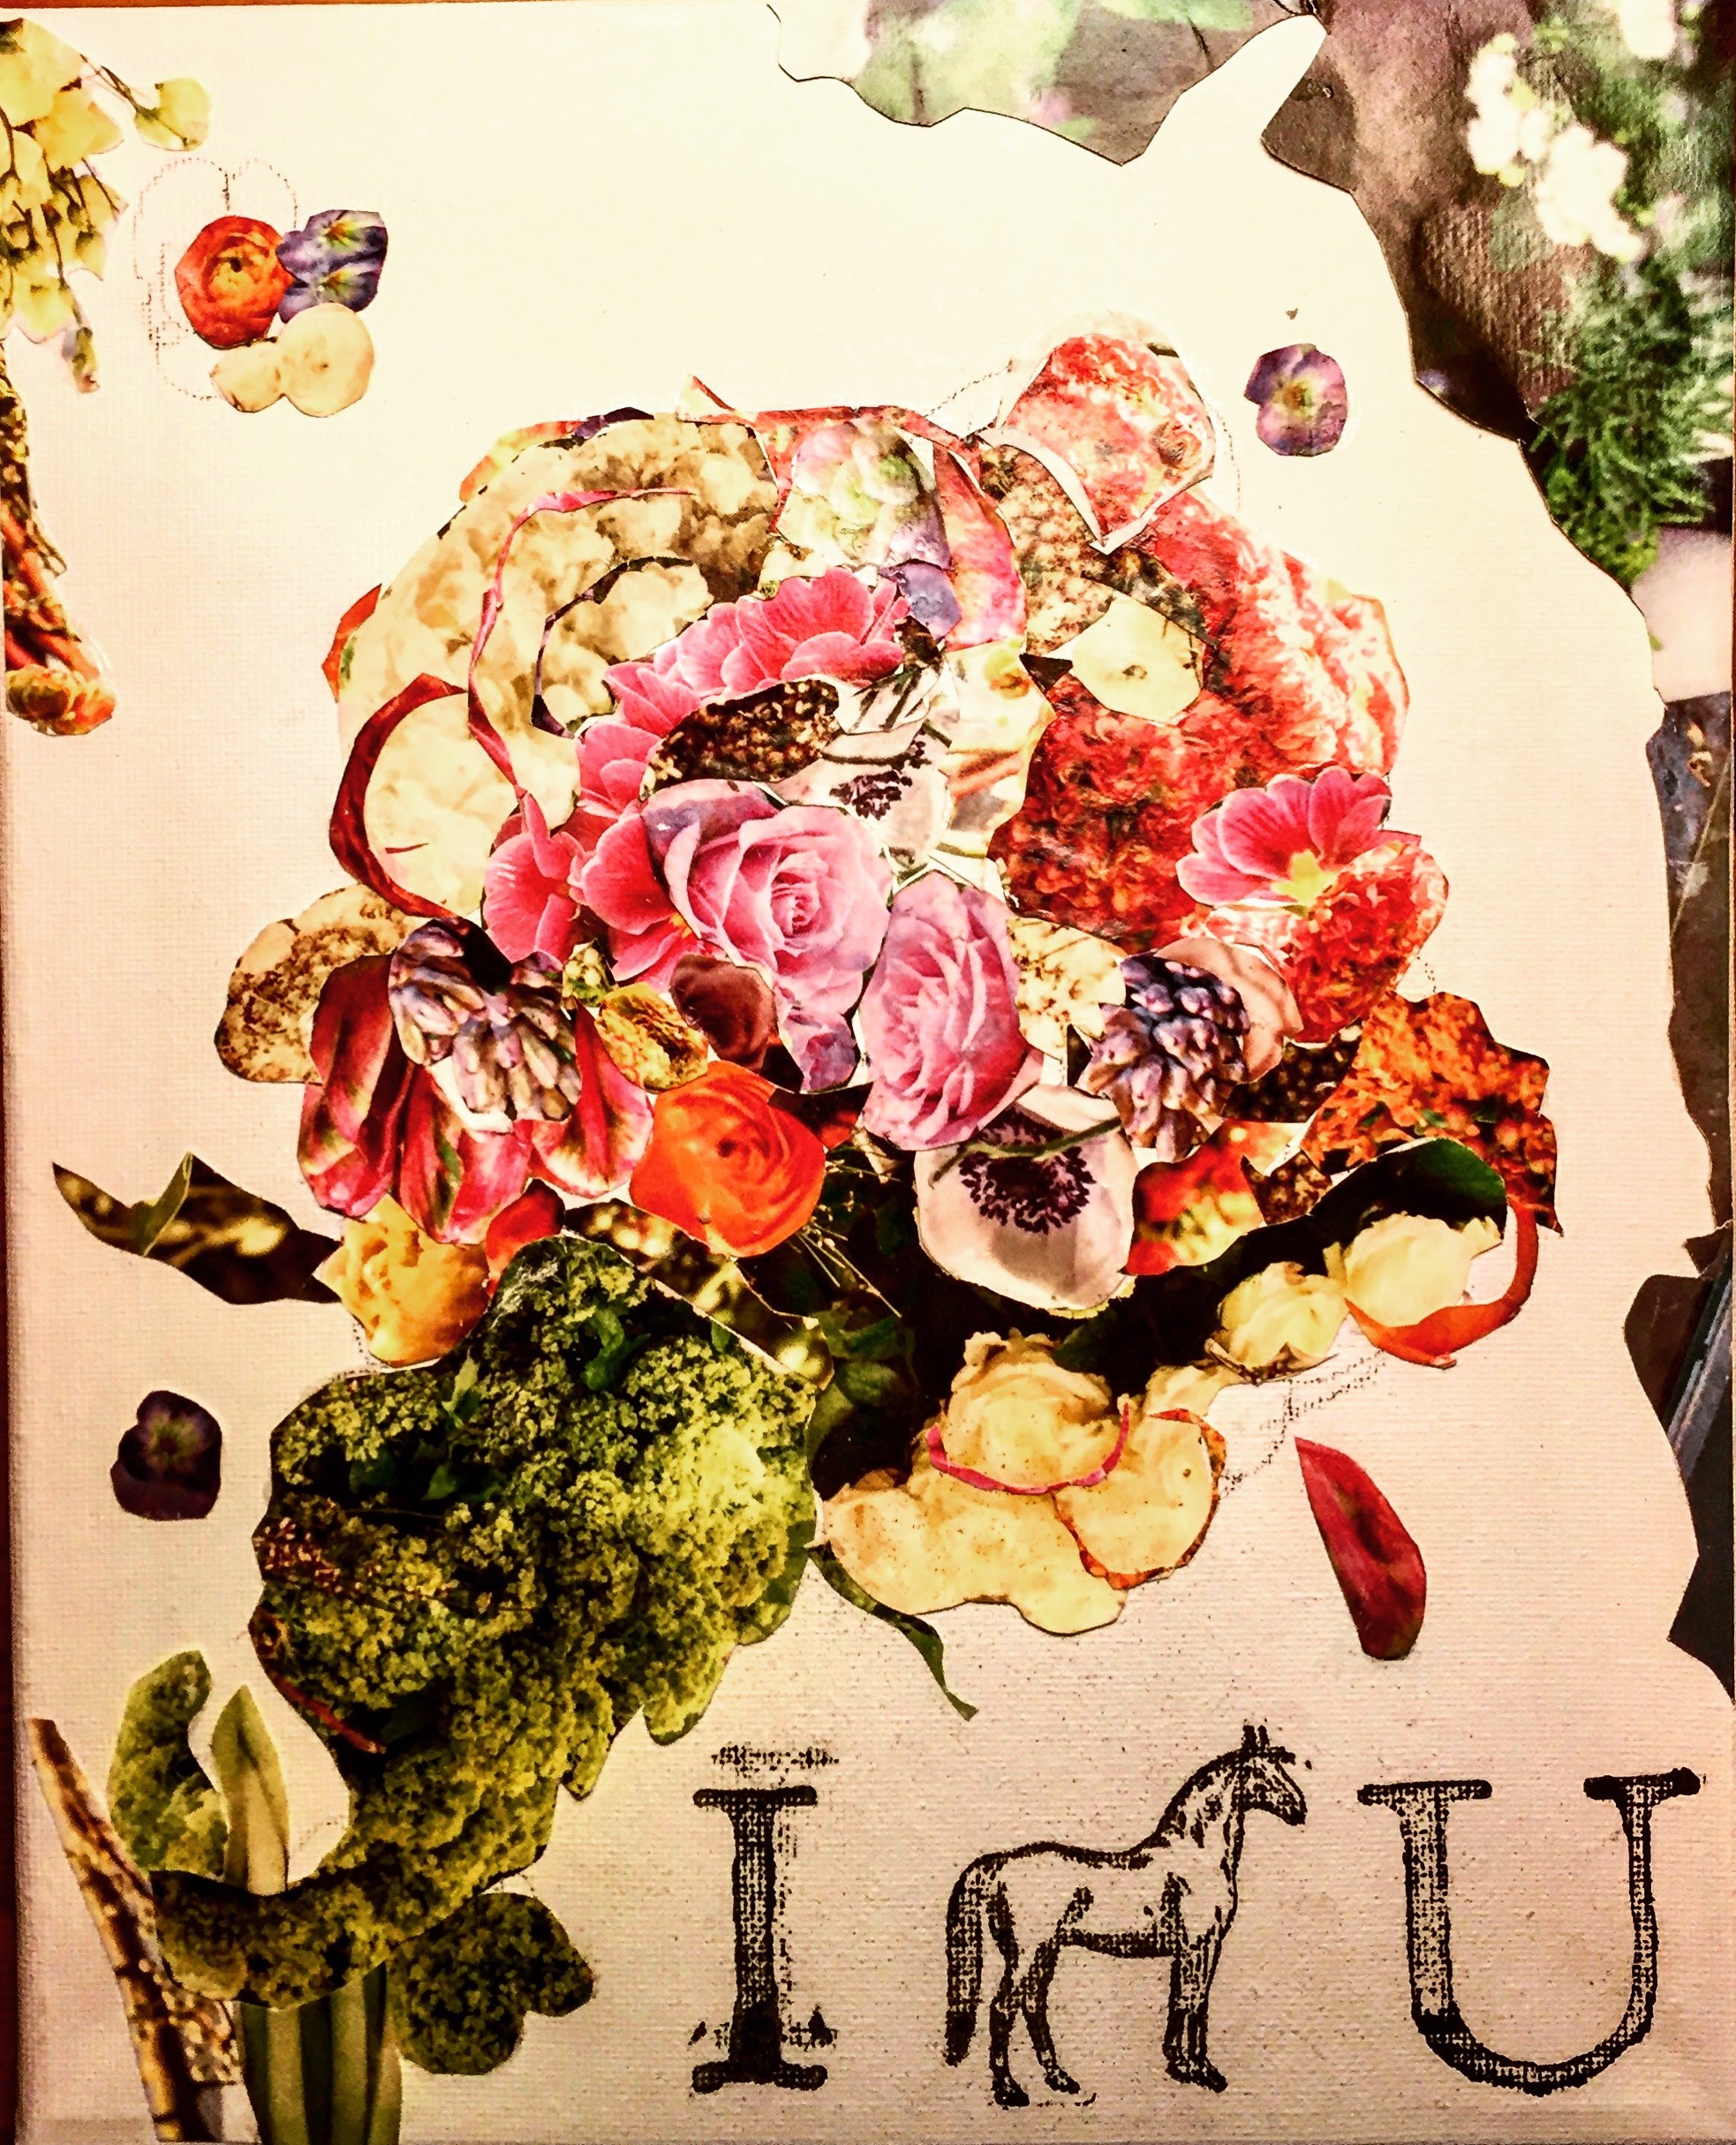
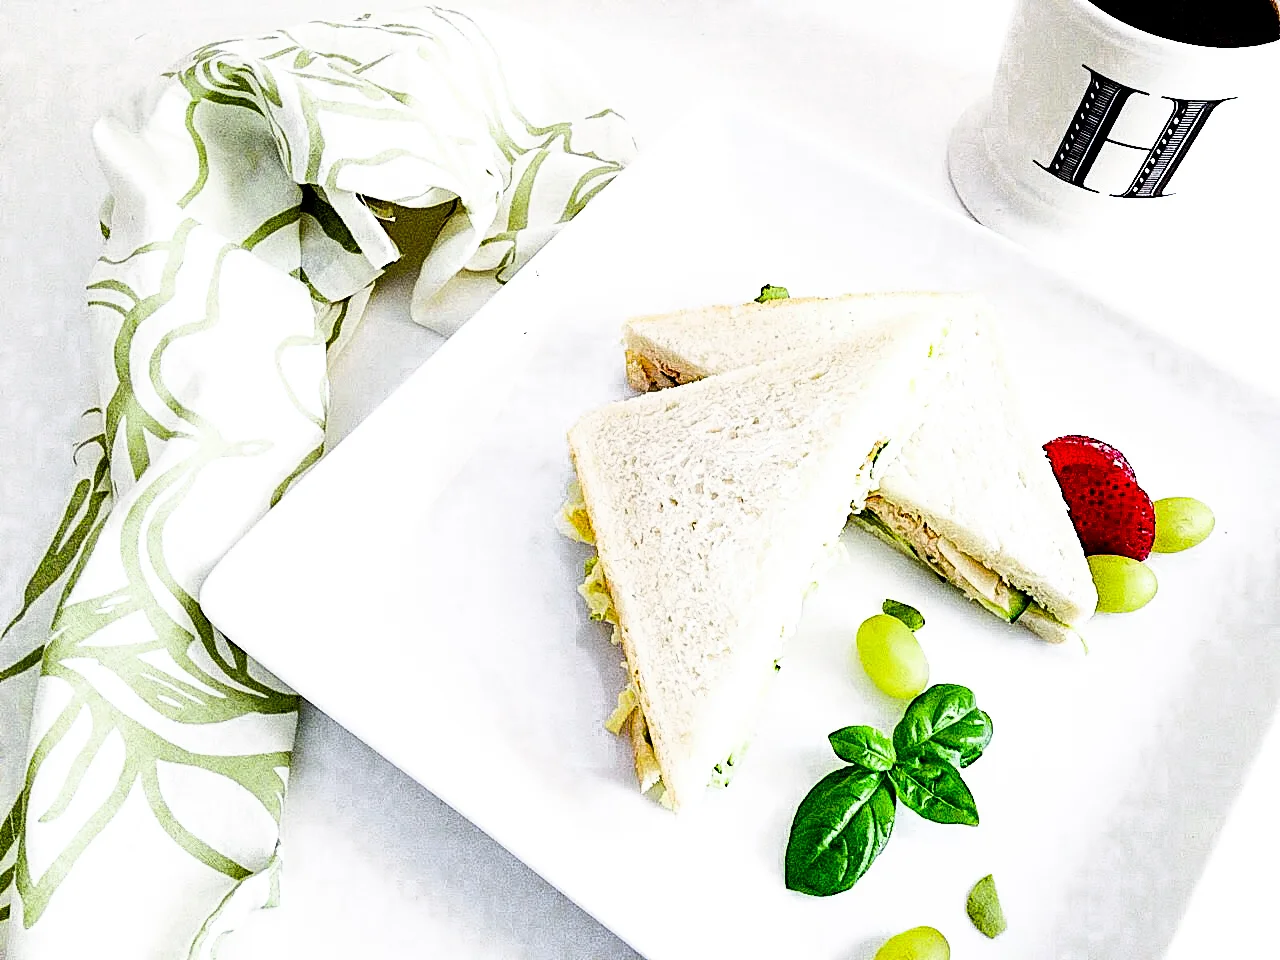
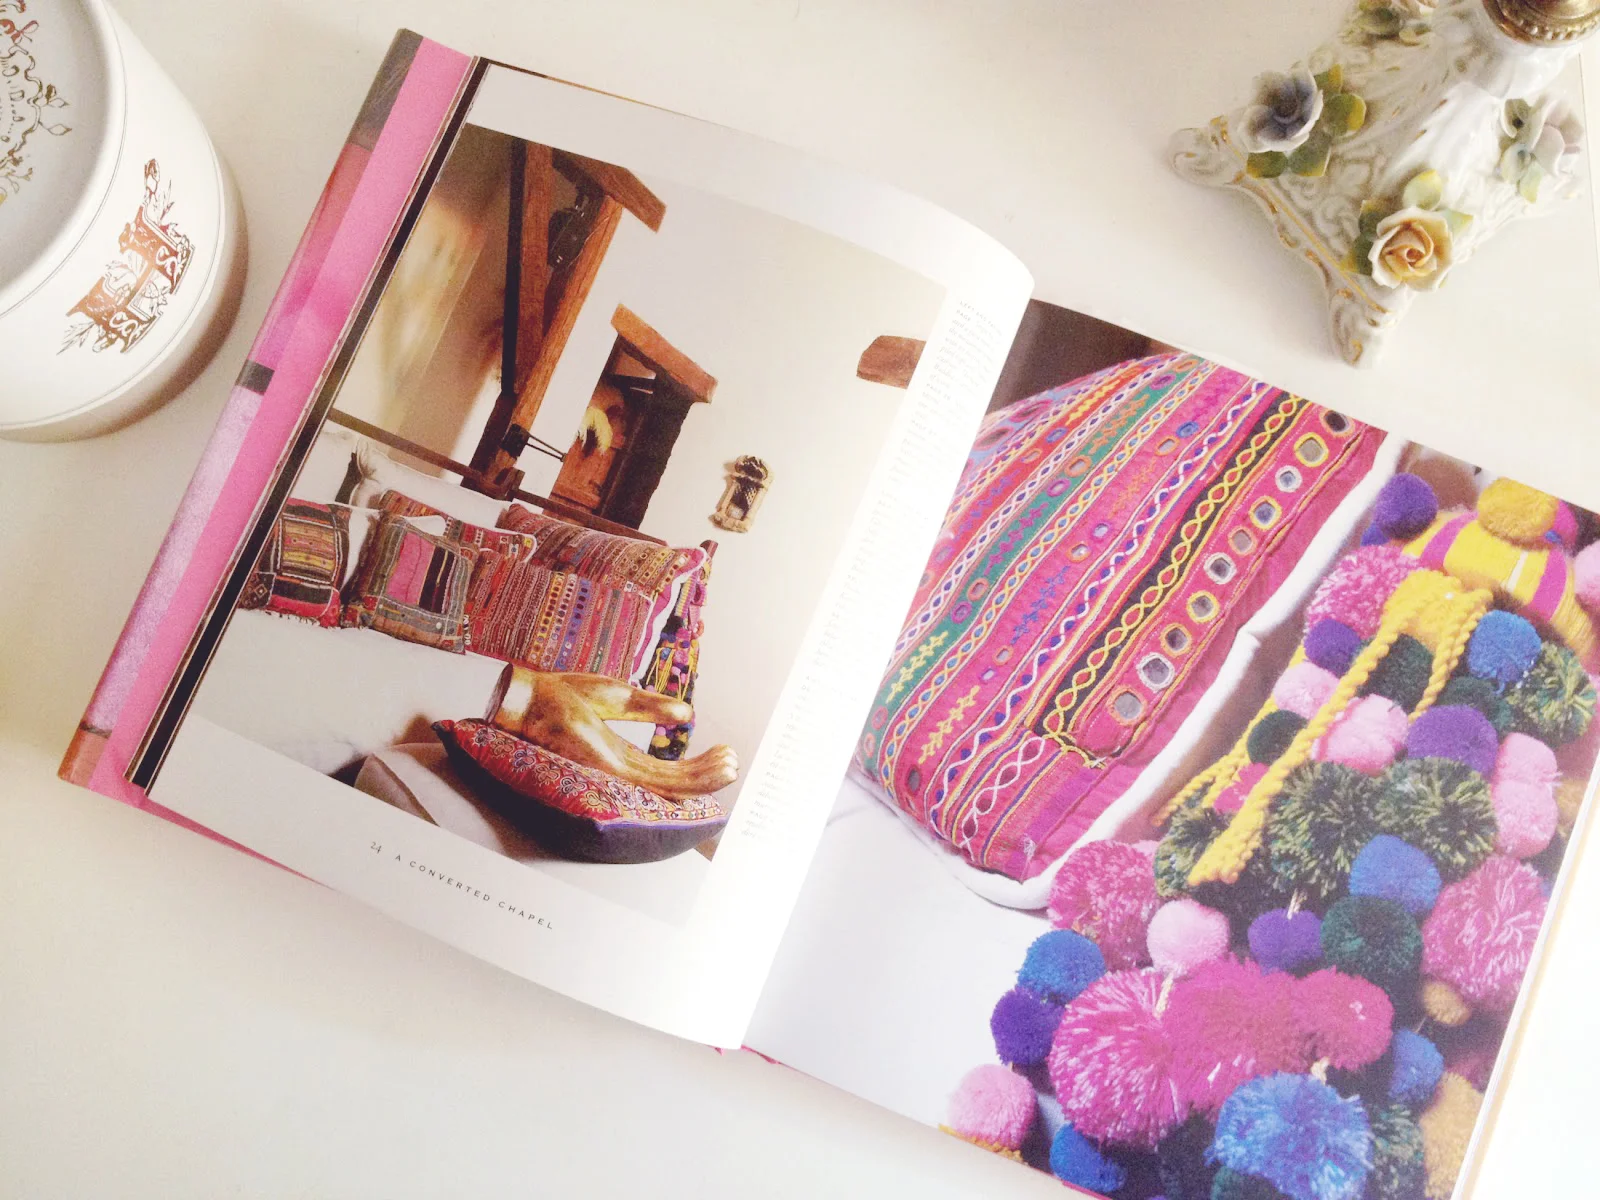
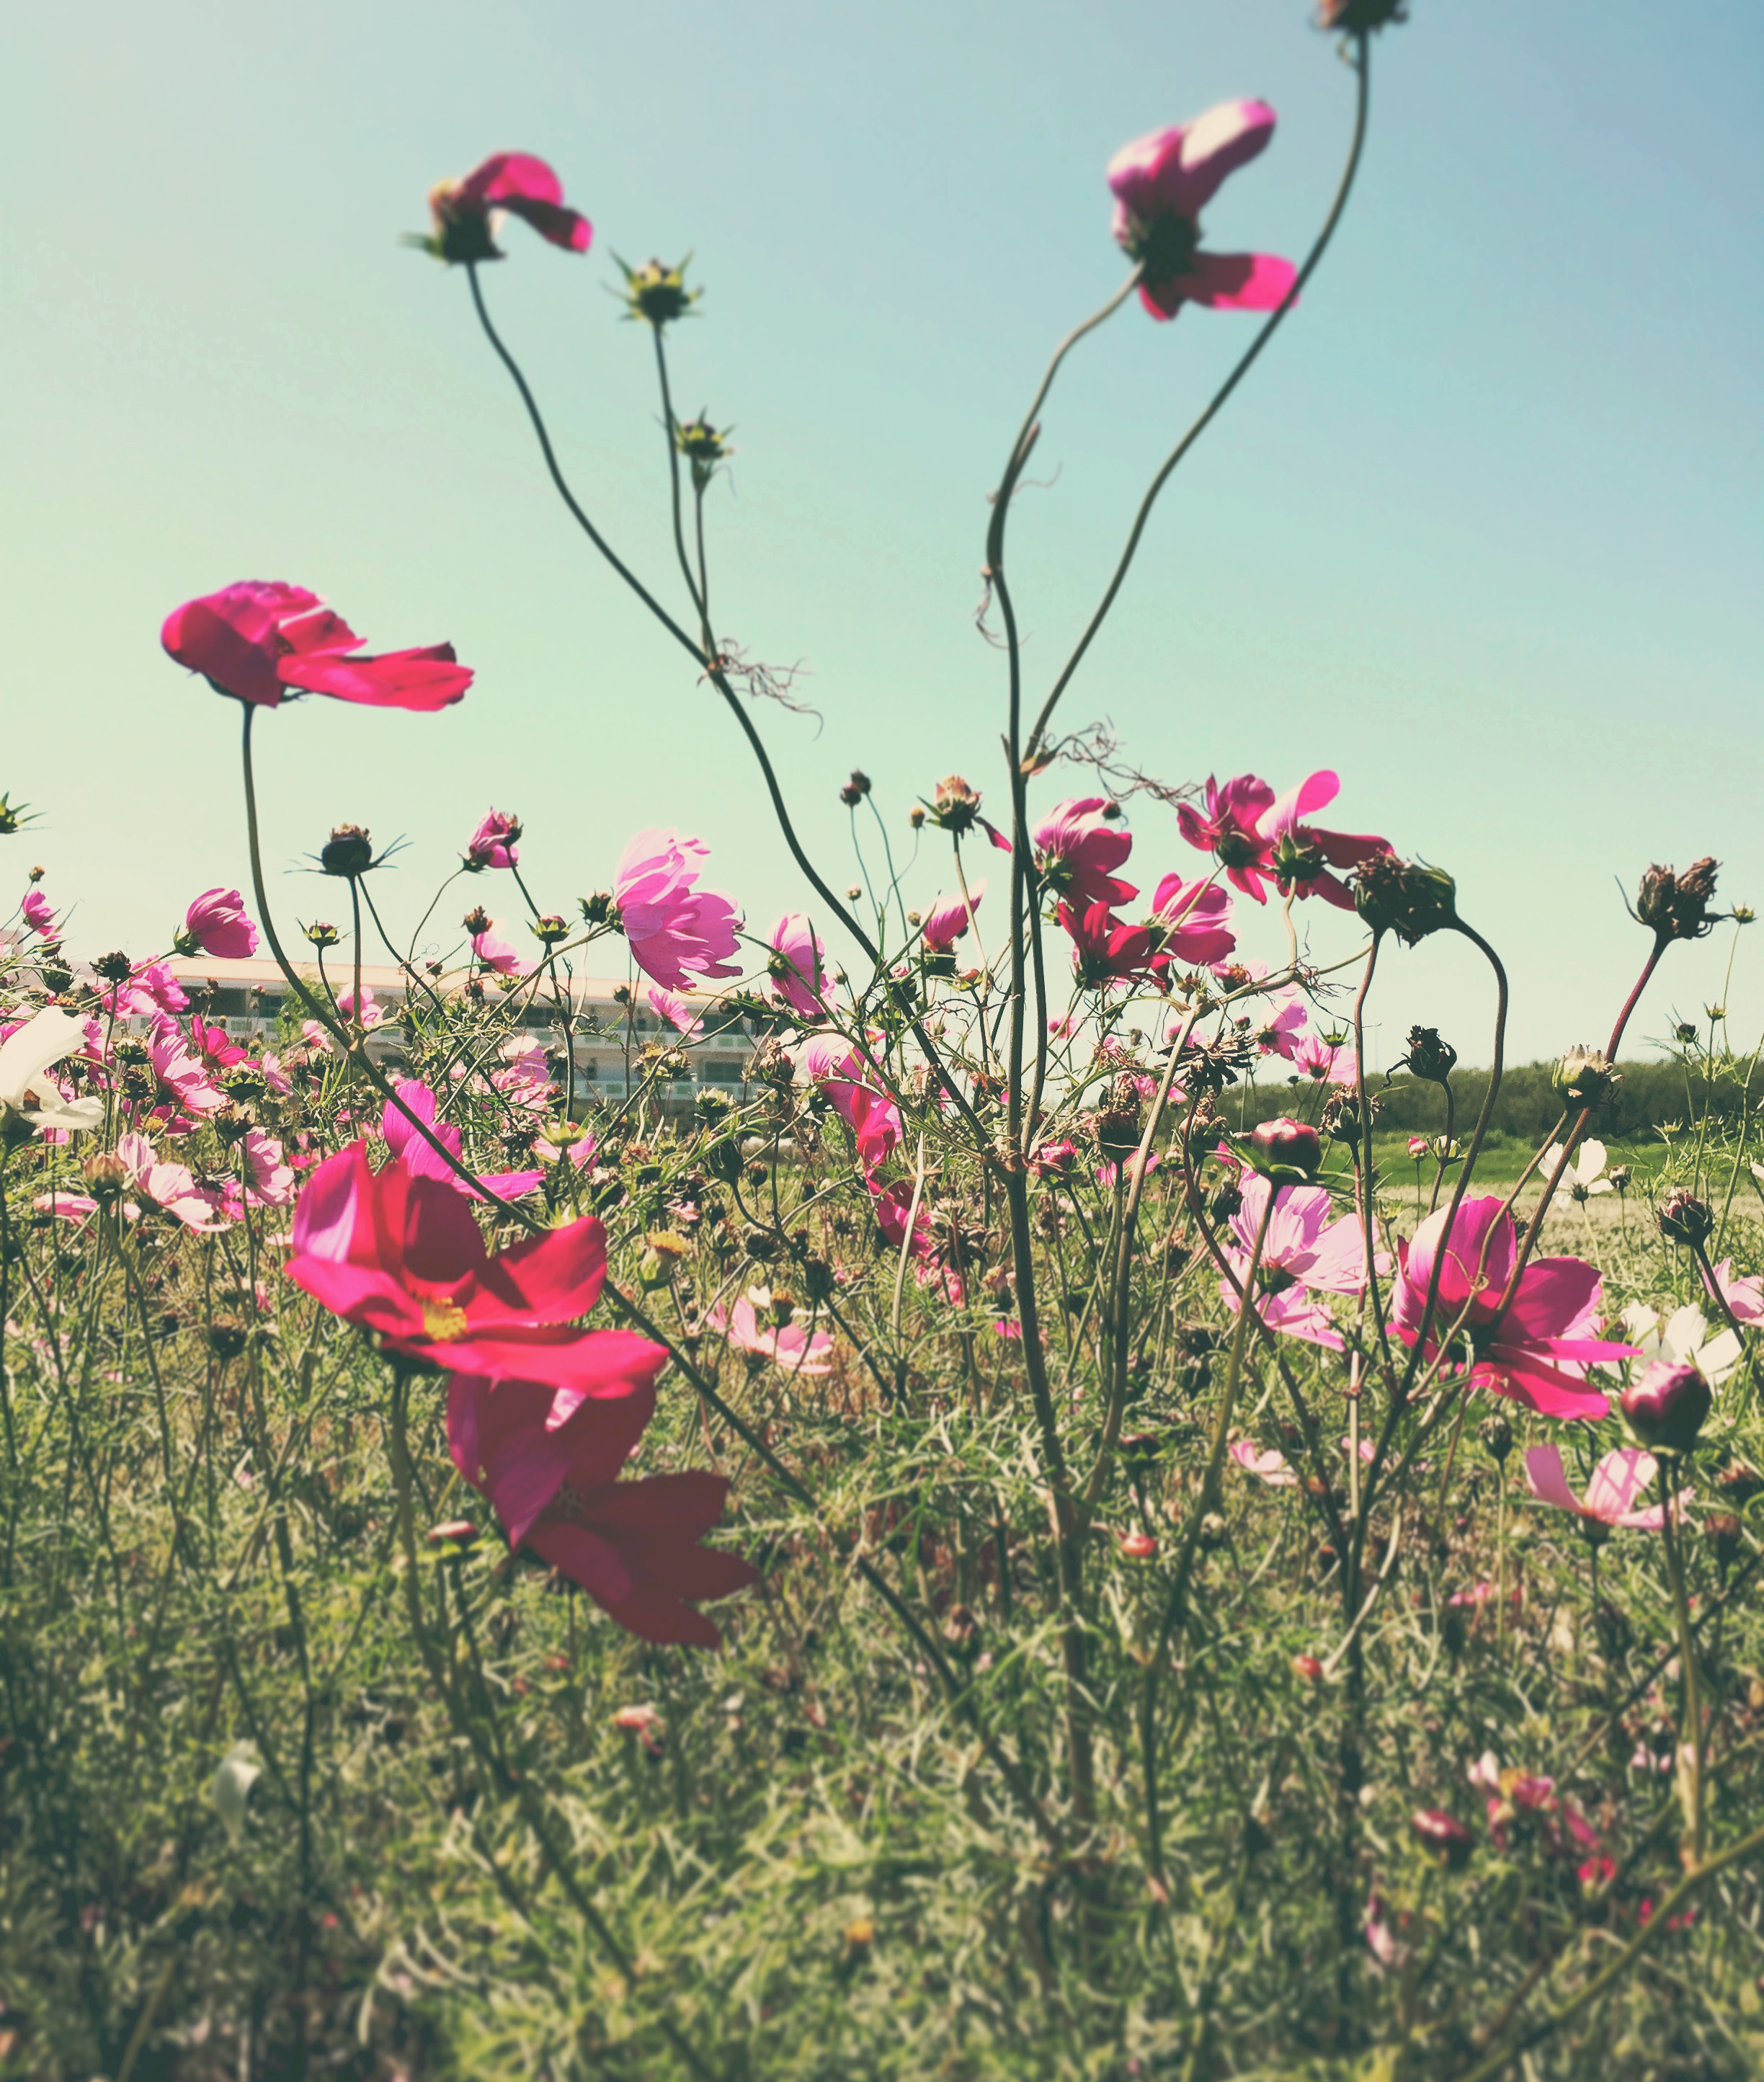
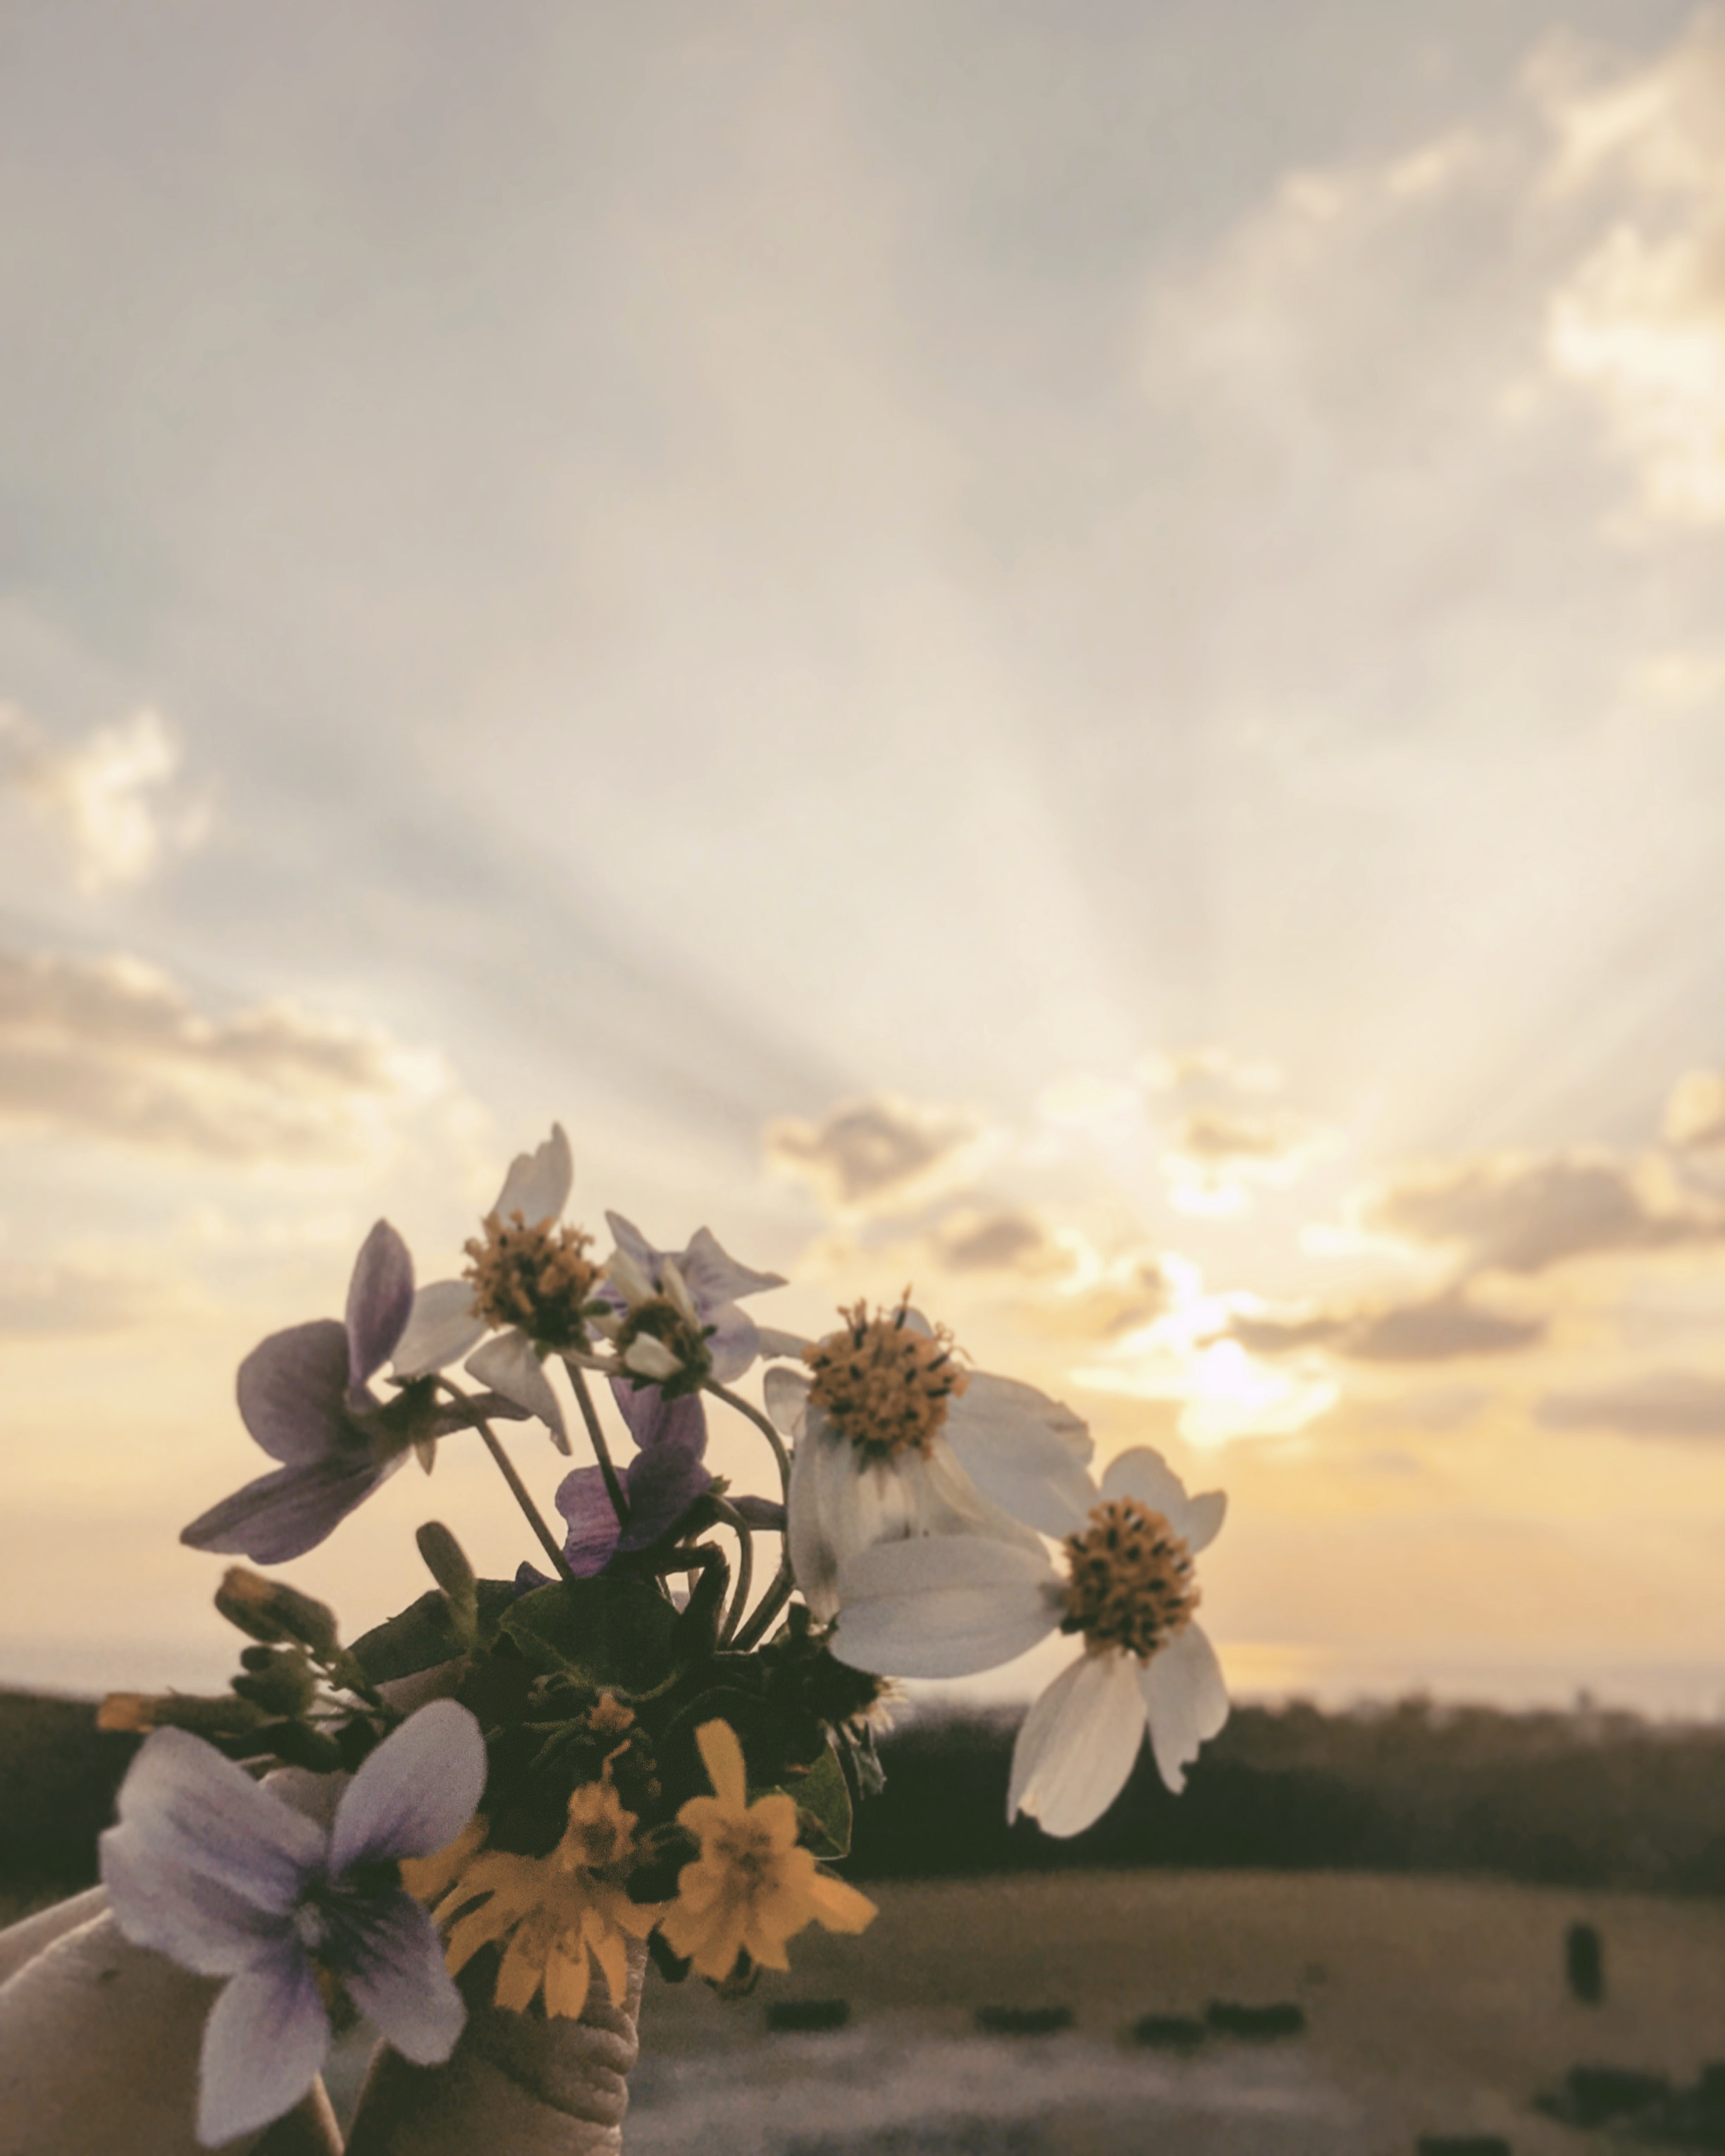
Those are photos and drawings of mine. How do you make captions for them paralleled with colors and words?


Hope that you enjoyed and had new inspirations for your creativity.
See you in the next post.
More photos on Pinterest, Facebook, and Instagram.
Pinterst: https://www.pinterest.jp/harumiphotography
Facebook: https://www.facebook.com/harumiphotography
Instagram: https://www.instagram.com/harumi.photography