Closing 2018 and greeting from me by harumi

Yomitan-son, Okinawa

Yomitan-son, Okinawa

In 2018, that was a challenging year for me in both good and bad. I am still working on some of the parts, but developing my creatives and pushing the boundaries of my limits were themes of this year.

Before closing 2018, I leave my blog posts sorted by categories. This blog kept myself on the right pole, and I am pretty much satisfied with that I consistently could make outputs. Will continue posting for the more valuable information.

Photography editing tips
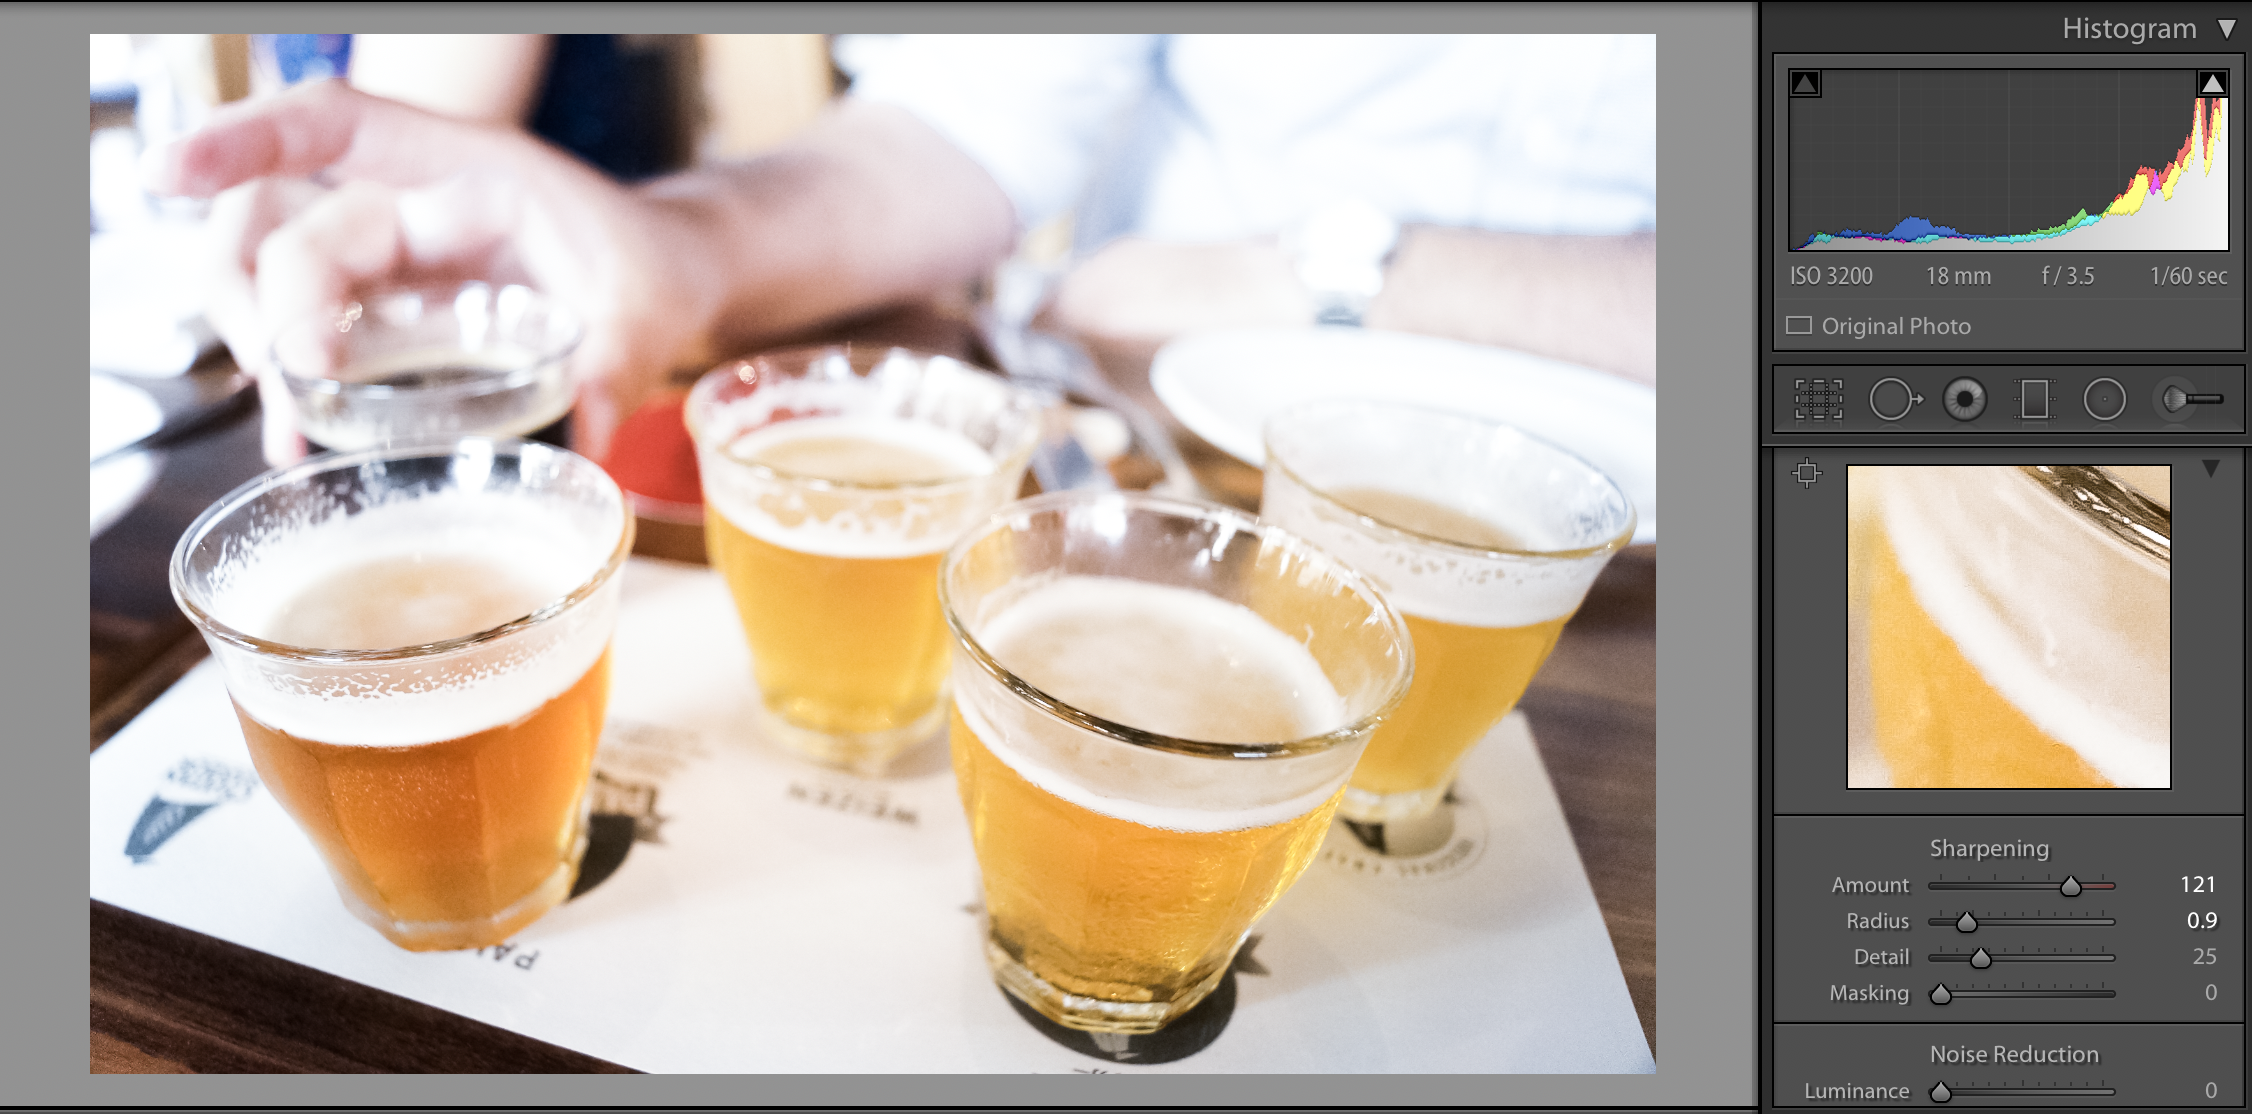
Life moments with photos

Creative hack (Tips on the creatives)
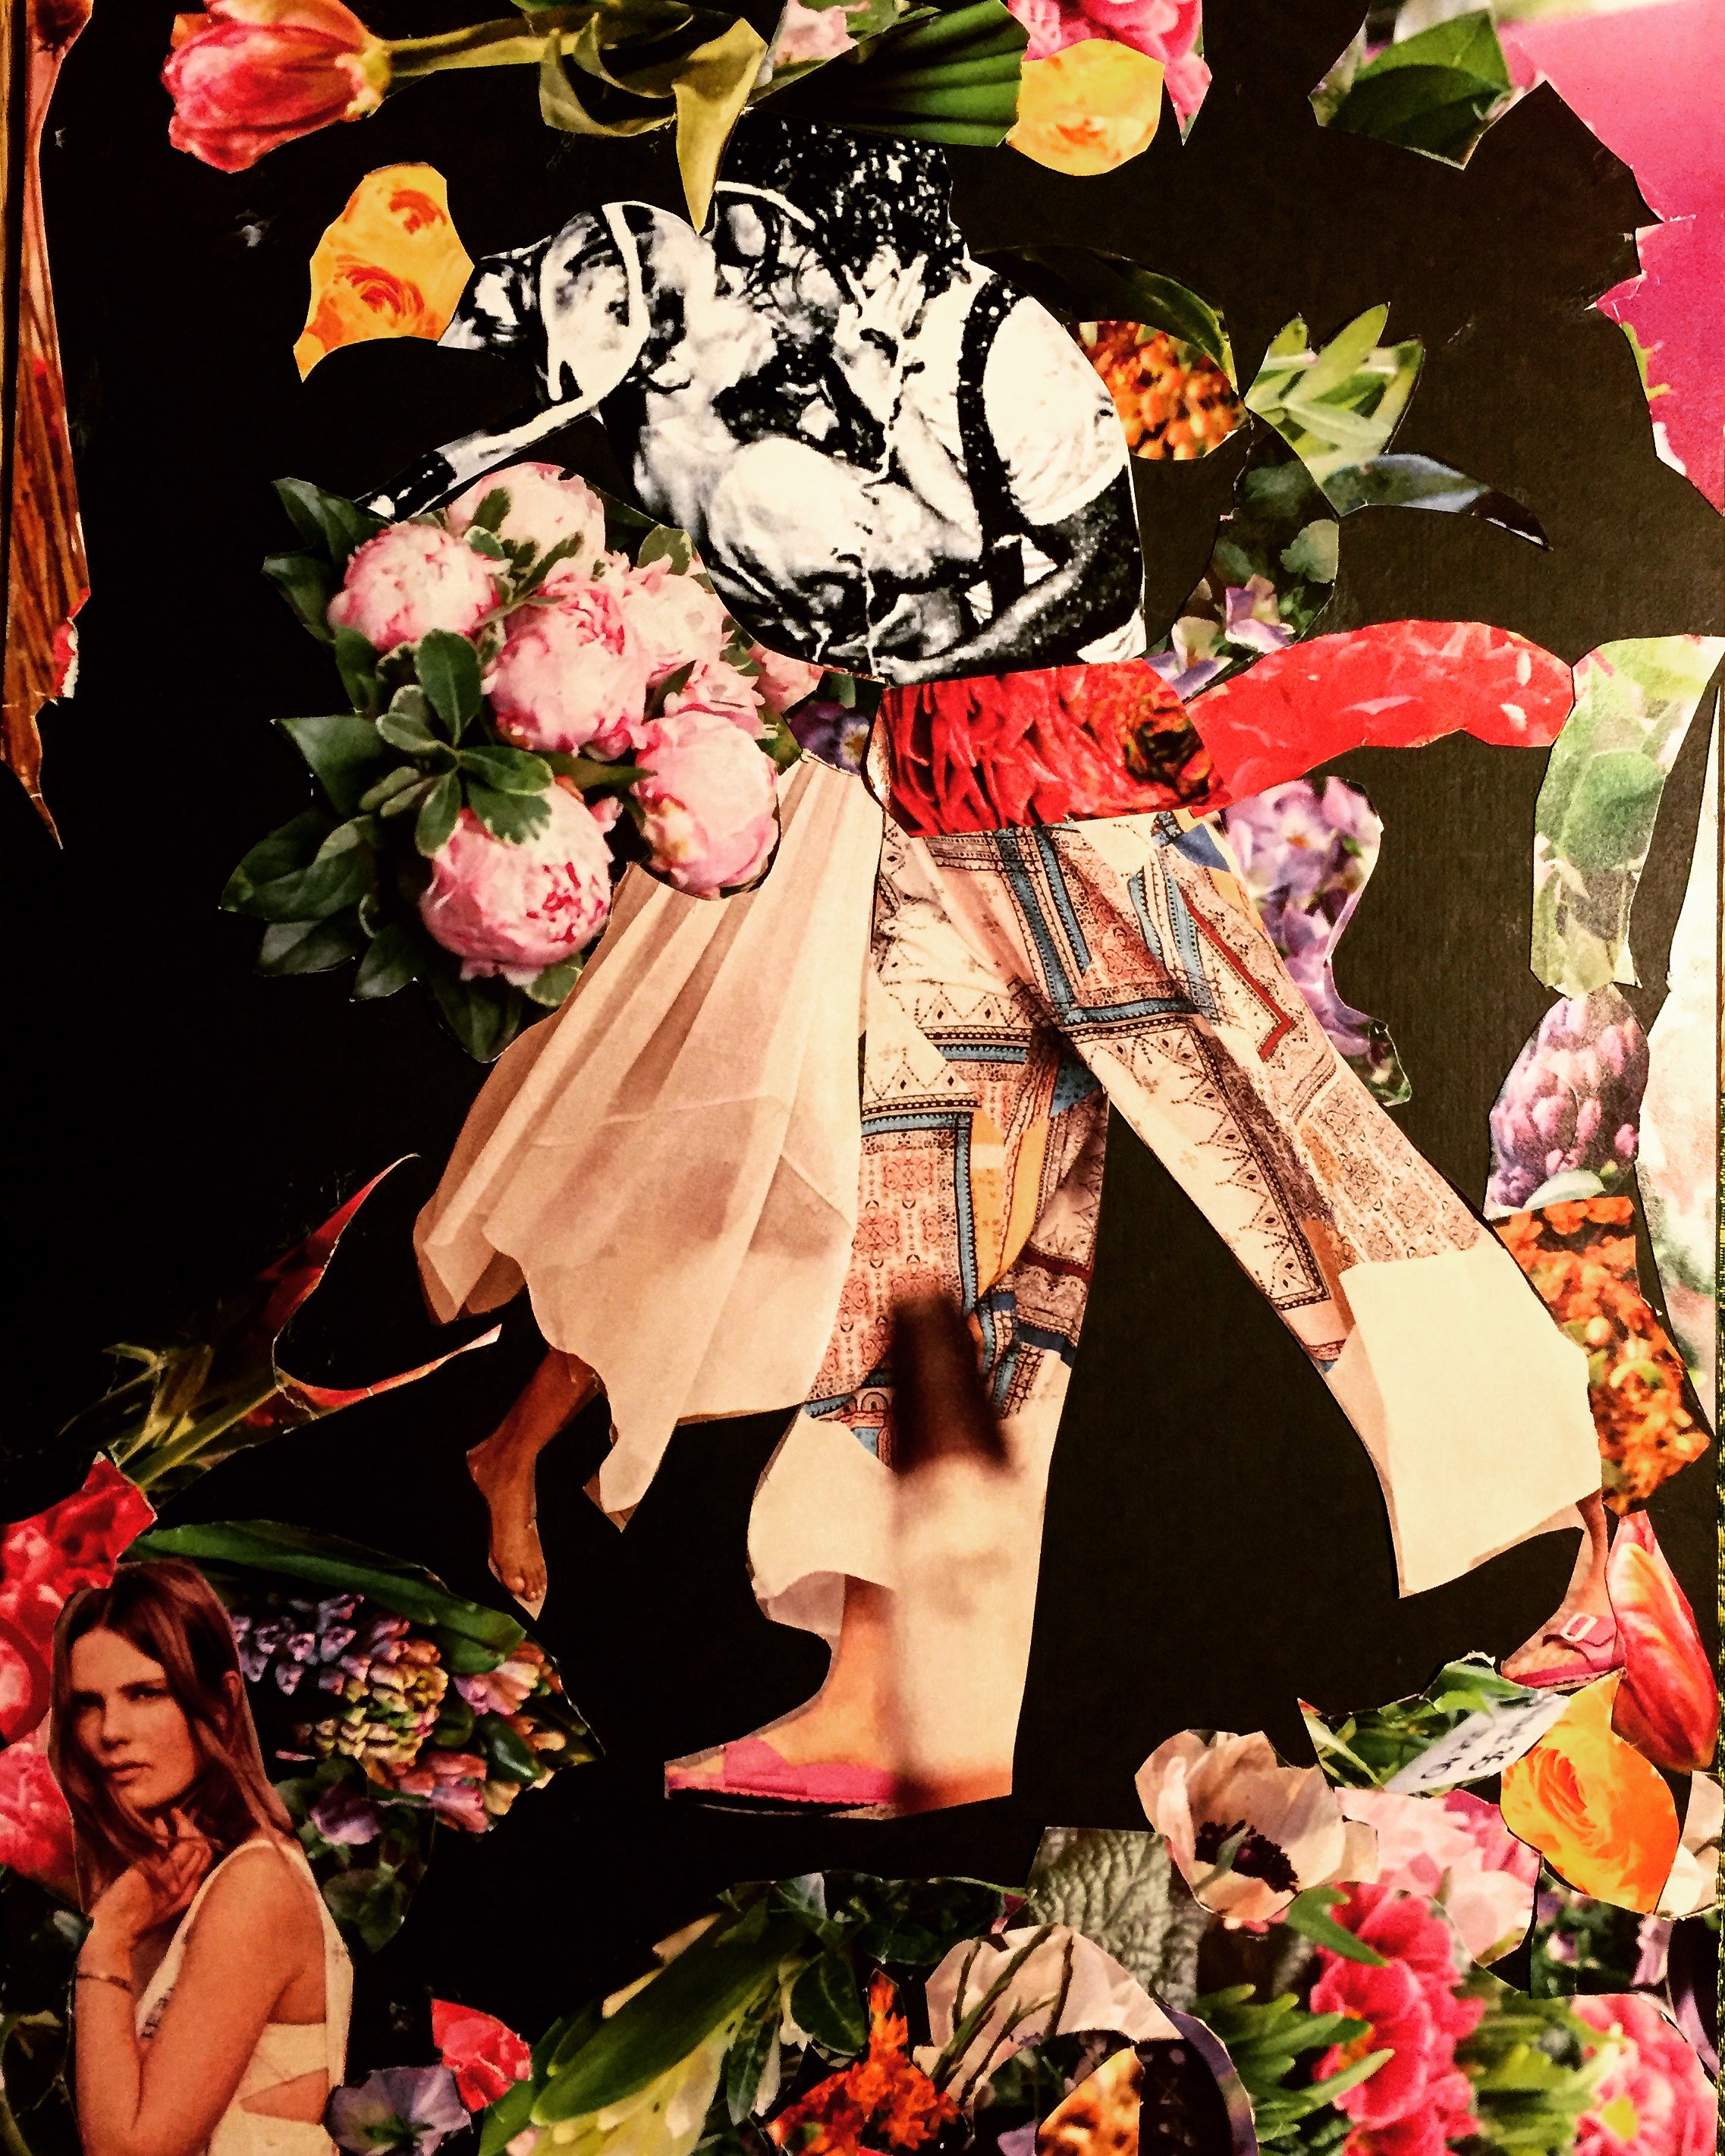
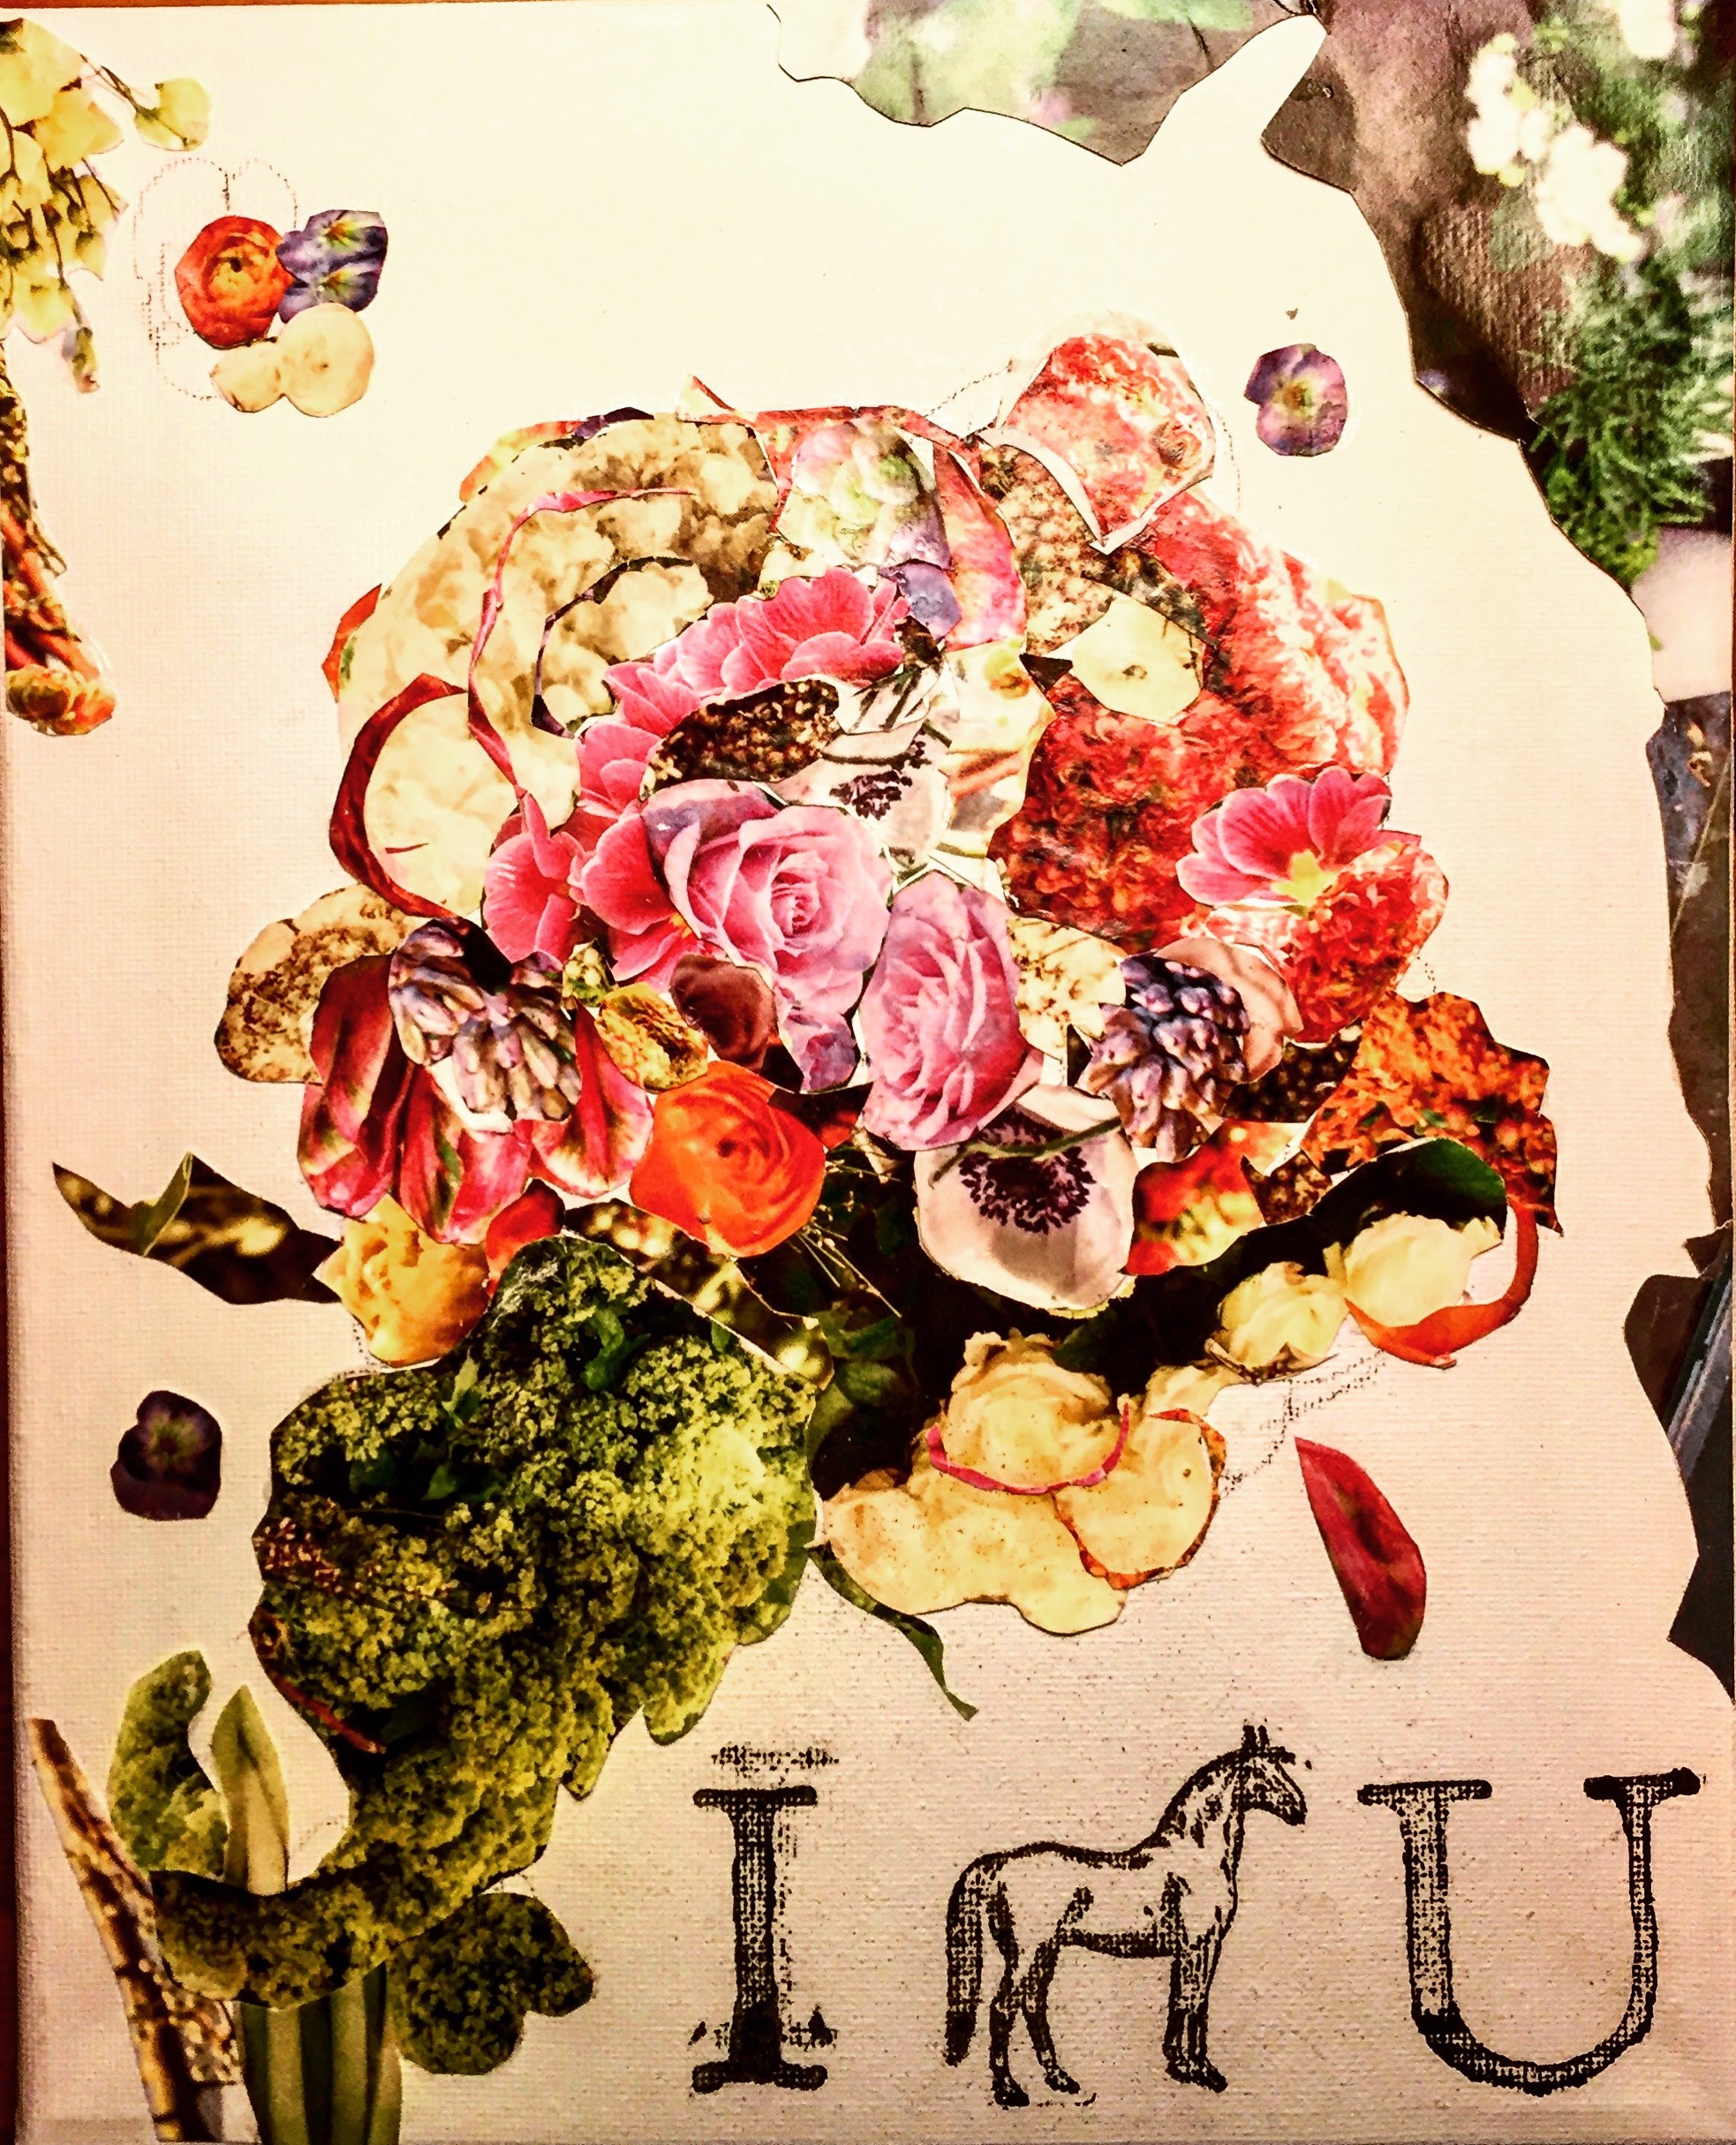
Art + Craft (Tips and instruction)

Music


Thank you for all. I wish you all the best in the coming year.

How to make a collage with photos -Create a big picture by small pieces- by harumi

Since I was little, drawing has been a thing I never got bored and truly focus on myself. For me, it’s the healthiest way of releasing stress by focusing on one board and just going with the flow. When I am stressed out, or even not stressed out, I cut papers, catalogs, magazines, and add a photo to make a collage.

So here is a flow for how to make a collage.

1. Pick up a photo you would like to use

2. Grab calendar, magazines, or papers

3. Cut those into small pieces

4. Glue the picture on the blackboard

5. Glue #3 small pieces of papers. *Just go with the flow.

You see a big masterpiece by small paper pieces by gluing, gluing, cutting, and gluing.

Even you don’t see anything looks like the particular object at the beginning, each little piece forms your big picture in the end as long as you continue.

Hope you will have fun in making your own collage work with photos : )

When photos were real by harumi


Those are photos back in 2010, time when I truly purely enjoyed art, fashion, and music. I bought my first iPhone3G in 2009. Instagram came out in 2010. I found those Polaroid photos in my old phone, edited by the first Instagram editing tools to post on my personal account. Addicted to capture the moments. 

Nowadays, everybody can be a “photographer” by using platforms with photoshop, Lightroom, apps, etc..  which opened possibilities of expanding boundaries of creativity and self-expression.

However, this also created commodification of life moments, the culture of photo consuming, and I am a part of them.

To me, photos are real when a photo projects a person or her/his life moments without editing. Not context, but all about content in photos. 


Here I get myself back to the original point, where only one time shooting and no editing on my laptop. Whenever I or friends felt I’m being me, asked them to take Polaroid photos. 
(My favorite shot is dancing with a black bear in Taiwan. : )

For those who are in their moments.

Self-critiques on my old travel photos by harumi

It’s always embarrassing when we see our old photos, even not including a self-portrait in that. This self-critiques on my old images are for my personal growth, not only technical parts of it, but more facing what I missed and see my weakness without having biased glasses.

A couple of months ago, I posted “Practice cropping the components of photos“, quality-photography includes composition, containing elements of 1. lights, 2. colors, 3. texture (details of the surface), 4. moments (what moment could be significant), 5. shape (creates dynamics and harmony), 6. perspective (A photographer or subject's points of view. ex. Eye level to a subject, such as the same eye level as a baby in baby portrait.)


Based on the perspectives, today I am going to leave critiques on my old travel photos.
Those photos below were from San Francisco back in 2014. My sister and I had the company for ‘a hipster food trip‘ over there, and we found a cute/fine modern American restaurant in the town.
At the time, I did not know about light, details, or any other elements to amp up photos.. and those look… a little pushed me away from seeing how careless I was on editing…

Anyway, let’s review the photos with a short comment on each.

 
1. Too dark. Need brightness over the photo.

1. Too dark. Need brightness over the photo.

2. Not completed. A whole dish should be inside of the frame.

2. Not completed. A whole dish should be inside of the frame.

3. Colors off and boring.

3. Colors off and boring.

5. No good light with the scene.

5. No good light with the scene.

4. No detailed colors on food and missing the point.

4. No detailed colors on food and missing the point.

6. Missing moments.

6. Missing moments.

7. No significance.

7. No significance.

8. No colors and missing perspective.

8. No colors and missing perspective.

Maybe next time, I will go over critiques with more detailed explanation. But for today, I guess those are enough not to be too harsh on myself.. : )

Thank you so much for reading. Byee.

How to take food photos outside by harumi

Retouched

Retouched

The original photo Shutter Speed 1/10, F 3.5, ISO 800at Chatan Harbor Brewery

The original photo
Shutter Speed 1/10, F 3.5, ISO 800

at Chatan Harbor Brewery

 
Retouched

Retouched

The original photo Shutter Speed 1/10, F 3.5, ISO 600at Chatan Harbor Brewery

The original photo
Shutter Speed 1/10, F 3.5, ISO 600

at Chatan Harbor Brewery


For the last of series posts, "How to take/edit food photography," I would like to go present with the way of showing before and after photos. I leave both the original photo and retouched one worked on LR and see how it gets done to finalize photo editing. Here, let me go through 3 tips of taking food photos outside.

Previous series posts
#1:
How to take food photos at home (Dark Moody Look)
#2:
How to take food photos at home (Whitish-blight look)


  1. Set shutter speed and ISO right
    It's so important to keep your attention to shutter speed and ISO on your camera. I know I edit photos later, and I could just focus on shooting. BUT I do not want to think "I can edit it later." So try to set up the shutter speed, and ISO proper to light up for an environment. It's a restaurant. There is no any way to set up flash-light next to food, and you don't want to bother other customers by flashing. Also, you better enjoy your quality time, which is eating(!). You quickly need to take shots before meals get cold. Setting up the proper shutter speed and ISO before the food is delivered, and when it comes to your table, you are ready to shoot.

  2. Add colors on food by color luminance tools
    As showing my editing process on color luminance tool in a screenshot below, you get to know and focus what food should be featured. In this photo, apparently, chops. First, I adjusted "Red." After having the best color on the chops, I modified other colors to fit the tone of the chops over the whole meal presentation on the plate.

  3. Give the high amount of Sharpening as much as possible
    One more screenshot of editing behind the scene. Especially when it comes to beers, top bubble surface and the golden color of liquid that makes you gulp it should be emphasized on a photo. Adding the high amount of Sharpening gets it next level of food photo presentation to make audiences craving it.

#2 Tip: “Add colors on food by color luminance tools”

#2 Tip: “Add colors on food by color luminance tools”

#3 Tip: “Give the high amount of Sharpening as much as possible”

#3 Tip: “Give the high amount of Sharpening as much as possible”


Taking a food photo by your phone

Next. I would like to show how to take food photos by an iPhone. For the picture below, I use Snapseed to edit.

I like Snapseed because it has all adjustment tools it needs and is able to edit the whole parts on the phone. The app particularly provides excellent work for food photography. (I have used different apps, but this probably the best-qualified app concerning editing quality, control, and modification. )

The original at Full Circle

The original
at Full Circle

Retouched

Retouched


It's a slight change of brightness of the table, details of food, and contrast, however, that's a crucial part of photo editing, I think. This descent effort keeps you up with the pursuit of beauties on photos, such as better qualities, details, and brightness, that gives shiny parts of food presented in your quality time.


I think that’s it for the series of taking food photos. :) Hope you enjoyed and earned a little tips from the posts.

Thank you so much for reading.